Good afternoon - today we will talk about slate boards. But not about school, but about kitchen chalk boards. Those on which we write reminders to ourselves with chalk... notes for our loved ones... sketches of recipes... and just funny phrases for a good mood.
I won't just show you kitchen slate designs. I'll tell you where to buy slate paint and how much it costs. I'll tell you how Make your own slate paint from regular store-bought paint. And I’ll also tell you how to make such slate boards at home - and what they can be like.
So let's start with the photos... and work our way up to the chalk paint tutorial.
These are the kind of aprons you can make in the kitchen if you cover the wall with special slate paint.
Or buy a slate coating in the form of a film and cover the apron area in the kitchen with it.

In stores you can find slate paint. In another way, it is also popularly called chalk paint. This paint creates a rough painting surface on which chalk easily leaves marks rather than slipping like on simple colors. Below I will tell you how to make slate paint with your own hands from simple construction paint(for walls or floors) and I’ll reveal a simple secret to obtaining a slate effect.
And for those who like ready-made store solutions for their tasks, here is the answer.
For example, paint from TIKKURILA. One liter is enough for 9-12 square meters. m of surface (consumption depends on the porosity of the wall). It can be applied with a brush or by spraying from a spray can.

The same company has Magnetic paint– it creates magnetic surfaces. We paint the wall with this paint, and we no longer need to glue children’s drawings to the wall with tape: everything can be attached with magnets.
And many other companiesalso produce SLIDE and MAGNETIC paints of all colors– including in aerosol cans. These cans are convenient if you want to paint complex, streamlined surfaces with slate paint, such as a refrigerator.

What if chalk paint is applied over 2 layers of magnetic paint?– you will receive a slate surface that will hold magnets. This is cool.

HOW TO APPLY CHALK PAINT ON A WALL

You can make a chalk wall in any part of the kitchen. Not necessarily over the sink. You can choose a place over the kitchen sofa.
Children will be happy to crawl on the sofa and draw cute pictures... tigers that look like cats... police cars... shaggy hedgehogs... pears with worms... sweet mommy... and the apple pie that she bakes.

On such chalk walls you can place.

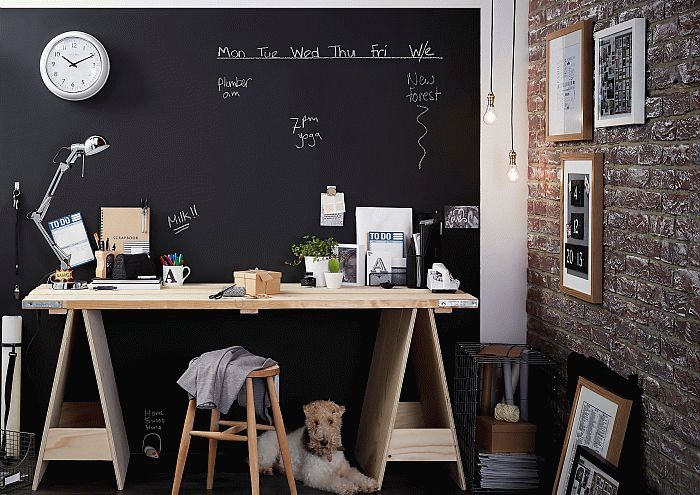
Chalk note boards are very beautiful decoration for the kitchen, and useful. They can be used for reminders and for recording recipes.
You can buy it immediately chalk board for a cafe - ready-made, factory-made. Type “chalk board for restaurant” into a search engine, and the Internet will immediately give you online stores that sell such boards and even deliver them to your home.
But we will make such boards ourselves - with our own hands. And we’ll even make slate paint from regular paint (a little lower in the same article).
Chalkboard paint can be green, brown, blue, burgundy - any shade that will harmoniously fit into and color interior your kitchen.
Possible from chalk kitchen boards do real panel. The photo below shows design of a coffee shop, in which the information wall was designed in such a slate design.
You can implement this idea for decorating a slate wall of a restaurant in an ordinary home. kitchen interior. Make boards different sizes, hang them on the wall in a chaotic order.

If apply under slate layers of paint 2 layers of magnetic paint, then such a board will also be magnetic, and then a photographer, pages with recipes, small objects and other kitchen items can be attached to it.
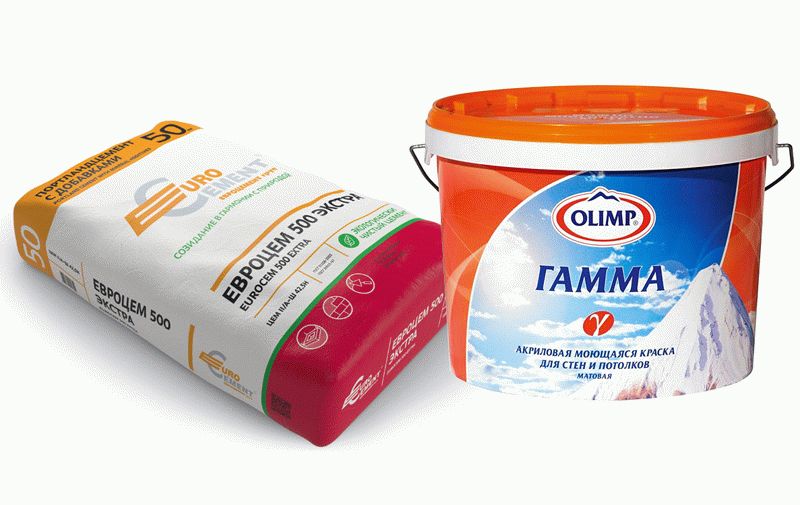
SIMPLE METHOD. Place 2 tablespoons of regular cement in a glass with black paint. (Or any mortar which contains cement, such as putty. Or grout powder for filling cracks in tiles.
The fact is that Any paint turns into slate paint when we add to it SOMETHING THAT WILL CATCH THE CHALK. Agree, chalk just glides over regular paint without leaving a mark. But it's worth it regular paint add fine powder (cement), and we already get a colorful surface with a delicate roughness - just to the degree that the chalk leaves a clear mark.
Wonderful chalk boards for the kitchen can be made from a variety of materials.

For example headboard from the bed. We stuff it on her plywood board– we paint it with chalk paint.
Or a regular frame for inserting a photo. U Such frames have a plywood bottom, so we paint this bottom with slate paint (and throw the glass out of the frame) - and we get a wall chalk board.

Or will it fit ordinary tray. Or you can made from durable plywood sheet cut out any shape using a jigsaw (for example, the shape of a house).
You can make slate surfaces NO chalk paint. Just sticking it on them slate film. Such chalk films are sold in construction and design stores - the cost starts from 850 rubles per tube. The tube size is usually 2 meters by 45 cm.

These slate chalk films can be glued to furniture elements on the cabinet door. On the back of the chair so you can sign it, where is whose chair. For a buffet and even for a beautiful earthenware dish.

Can be covered with slate film (or painted with chalk paint) walls between kitchen shelving or hanging shelves.
Any homemade shelf can become stylish decoration interior, if you apply the slate effect in its design. By the way, such boards look great not only in the kitchen, but also in the hallway(you can leave notes) , A in the children's room, they will delight your kids with the opportunity to scribble to their heart's content.

You can cover the refrigerator with slate film (or paint it with slate paint from a can). And then you can write entire messages or a lunch menu on it for household members who returned home before their mother-nurse and need instructions on the topic “What to eat.”

You can show your imagination and make beautiful coasters for small items. They can be made from cut panels from wall switches.
You can use visual arts to beautifully decorate shelves with spices on a slate wall.

Here are some ideas for creativity... If you want, make your own paint. If you want, just buy self-adhesive chalk film. You can limit yourself to just creating a small board, you can make a slate wall, or you can make an entire wall.
You will find more ideas for decorating the kitchen in the article


Good luck with your creativity.
Olga Klishevskaya, especially for the “Family Kuchka” website.
Photo sources: http://www.pierreflorczak.fr https://www.pinterest.com
A slate board in the interior is an extraordinary solution. If you want to follow your individuality to the end and not buy it in a store, then you will most likely be faced with the question: what to do with paint? Save money and make your own chalkboard paint.
Whatever surface it is applied to - furniture or a special board, chalkboard paint is completely different from the green or black that is used in schools.
Our paint can cover completely different surfaces: doors kitchen cabinet or the head of the bed, turning an ordinary piece of furniture almost into an art object.
Materials:
primer for latex paint
latex paint of any color
mixing container
brush or roller
mixer attachment for drill
1. Mix latex paint and primer in a container. The ideal chalkboard paint mixture ratio is 1 part primer to 8 parts latex paint.
Stir well, otherwise the primer granules will be visible on the surface of the board. Therefore, it is better to mix with a mixer.

In order to get chalkboard paint in a beautiful slate color rather than a mournful one, black paint can be mixed with white paint in the proportion of 2.2 liters: 0.2 liters (2.2 liters of black paint and 200 ml of white). Then add primer to the mixture.
2. Paint the surface with chalkboard paint. The surface must be prepared in the same way as is usually done before painting. Apply the paint in two layers.

The color range of chalkboard paints is endless. You can choose any bright contrasting color.
3. Bringing the board to perfection. To make the board finally suitable for drawing, you need to sand it with chalk, then erase its traces with a dry cloth in a circular motion.
In today's article I will tell you how you can make a school board with your own hands. I don’t know about anyone, but as a child I tried to make a drawing board at home, and according to my memories, I only made my parents laugh. I hope that after reading the article, you will be able to please your children good advice, and help them build a real school board on their own. Of course, you can buy a school board, but believe me, following the instructions below, building it with your own hands will not be difficult for you, the main thing is to be careful and consistent.Slate paint – great option to create a stylish, modern interior. Elements with such a coating will be appropriate almost everywhere – from a children’s room to a solid office. IN Lately they have become a real design trend!
But the use of unusual paint in the interior is justified not only from a design point of view. Slate surfaces are also very practical. They are a great help in raising children, communicating with family, at work, and just in everyday life.
These paints are popularly called chalk paints. They create a durable matte, slightly rough coating on the surface on which you can write with chalk. The effect is like the familiar school board, only much better.

Modern slate paints have high performance characteristics:
On a note! Chalkboard paints are sold in cans (for application with a brush or roller) and in cans (for easy painting of geometrically complex surfaces).

Manufacturers offer ready-made emulsions of the most different colors. Thus, Siberia paint is available in gray, burgundy, brown, black and dark green. Tikkurila offers those who wish to tint the colorless base into one of the three hundred shades of the branded palette. And Rust-Oleum has a completely transparent slate coating. It can be applied to any colored surface in the house.
Chalkboard paints can be used throughout the home:

Important! Some paints become discolored by hot grease, so they should not be applied near a stove.
A variety of materials can be painted to look like lead:

All slate paints are intended for interior work. They do not tolerate low temperatures.
Chalkboard paint is very easy to use. Anyone can paint a wall or make a cute note board with their own hands.
The painting procedure is as follows:
Advice! Slate paints harden quickly, so you need to work with them quickly.

Wash the slate surface with soap or other household chemicals possible only a month after dyeing.
Factory emulsion is sold in cans and jars of 0.5 and 1 liter. But many simply do not need such an amount of material. In this case, paint with a chalkboard effect can be made with your own hands. It's much cheaper.
All you need is:
The ingredients are thoroughly mixed and inexpensive chalkboard paint is ready.
On a note! Dolomite or marble chips. A homemade cement mixture will not provide such a durable coating. It will get scratched faster.
The most difficult and interesting thing in this matter is choosing the color of the emulsion. Many people don't like traditional dark shades. In this case, you can use other colors on which the chalk pattern will be visible. Light, faded, pastel shades are excluded immediately. But it will be almost as convenient to draw on a bright background as on a dark one. Excellent options are bright red, rich purple, grass green, deep blue.
 slate wall does not have to be black, any color of saturated tones can be used for painting
 It will be very interesting if you use several slate panels of different colors in the interior at once.
Before you make slate paint using this recipe, you should make sure that you already have everything you need on hand. If you have to buy each ingredient, then it may be cheaper to immediately purchase a ready-made factory emulsion.
To prepare about 50 ml of slate paint you will need:
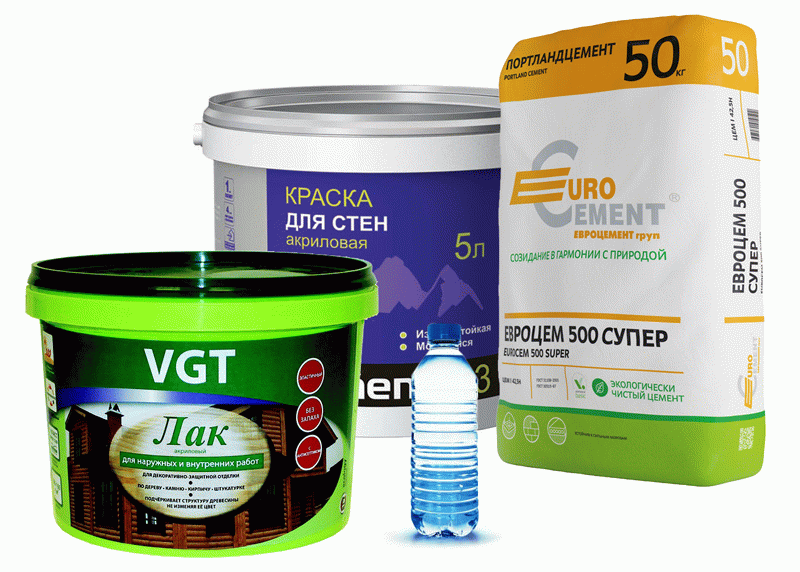
First, grout powder or cement is placed in the container - it will provide a rough surface. Then add paint, which will give the finished mixture the desired color, and varnish (it will make the emulsion more plastic). Now all that remains is to add water and mix everything very thoroughly.
Important! The mixture should be well mixed. If there are lumps in the mixture, they will ruin the painted surface.
Do-it-yourself slate paint is applied in the same way as store-bought paint. It is given time to dry and harden before applying the chalk designs.
Don’t forget about careful use of finished surfaces. Despite their high wear resistance, slate panels are easily scratched by hard, sharp objects. Therefore, it is not recommended to draw on them with cheap “school” chalk mixed with sand and pebbles. And if you use soft crayons and wash the drawings with a soft, wet cloth, the slate coverings will decorate the interior for a long time and serve as a convenient field for creativity.
In today's article I will tell you how you can make a school board with your own hands. I don’t know about anyone, but as a child I tried to make a drawing board at home, and according to my memories, I only made my parents laugh. I hope that after reading the article, you will be able to please your children with practical advice and help them build a real school board on their own. Of course, you can buy a school board, but believe me, following the instructions below, building it with your own hands will not be difficult for you, the main thing is to be careful and consistent.


