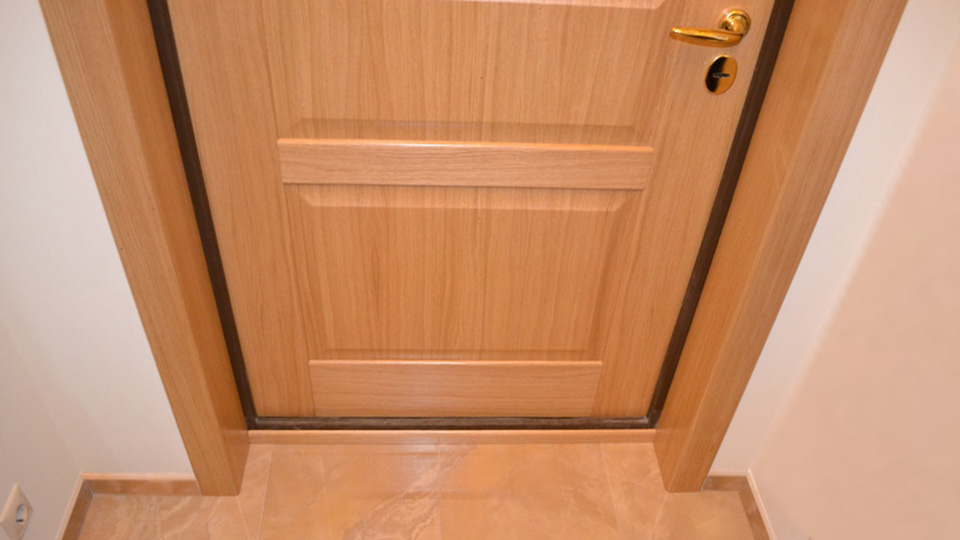
How to beautifully decorate jambs with your own hands
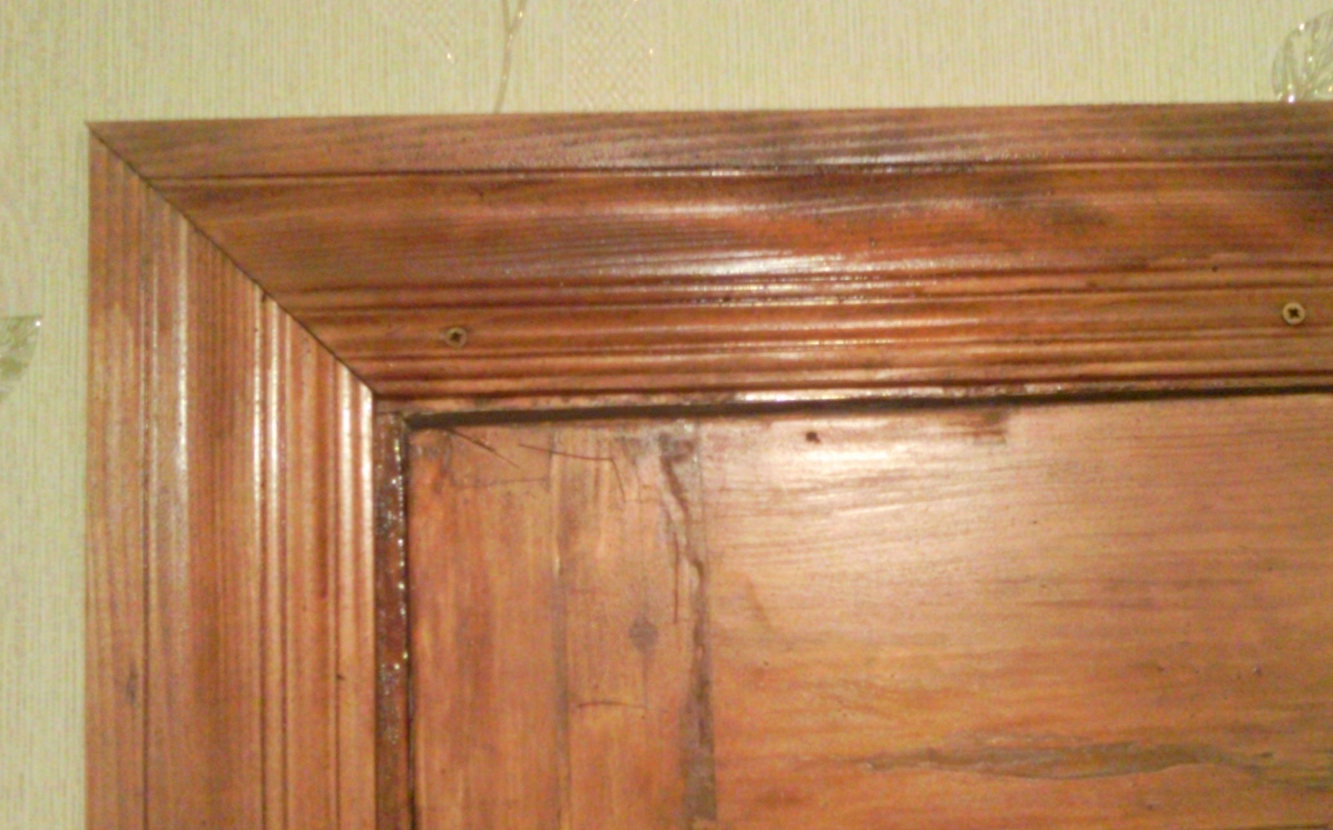
After the replacement of interior or entrance doors, quite often the owners of the apartment face the problem of restoring jambs or slopes. It is especially acute for owners of old housing, where a decent piece of plaster falls along with the dismantling of the old door. Restoring slopes is not a difficult task, and it is quite possible to do it yourself. Thanks to a wide range of finishing materials, this problem is solved quite simply. Do-it-yourself finishing of the slope after repair does not require special knowledge and extensive work experience. Attentiveness and accuracy will be the key to the success of the operation. How to finish the jambs of an interior door with your own hands - further.
The appearance of drywall in the building materials market has significantly changed the process of repairing premises. Now you do not need to spend a large amount of materials and time on leveling the walls and erecting inter-wall partitions. Ease of processing and installation, not too high cost - made gypsum board one of the most popular finishing materials.
Restoring slopes with drywall for a novice builder, in comparison with working with other materials, has several advantages:
Work speed. Even in the absence of experience, such work is done in a couple of hours. At the same time, the slope turns out to be quite even and looks beautiful.
The cost of work. Finishing with drywall is cheaper than finishing with plaster or other materials.
The process of restoring the jamb after replacing the door is performed in the following order:
Surface preparation. The surface preparation process begins only when the mounting foam is completely dry. Its remains are cut off with a sharp knife. Also, the remains of old plaster, insulation and other materials are removed from the surface of the jamb. After that, the entire surface of the slope is primed with a deep penetration primer.
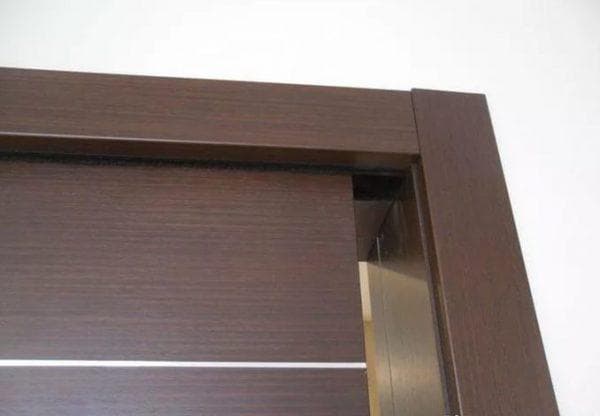
Drywall preparation. To restore the slope with drywall, it is necessary to cut 3 pieces of material: 2 side and 1 top. The height of the side sections should be equal to the height of the slope minus the thickness of the drywall, and the width - to the width of the slope. The upper part of the side segments is cut at a slight angle so that the upper segment with its back part overlaps the corner of the door frame.
Gluing drywall. Drywall is glued to a special solution. It is sold as a dry mix and diluted with water. When preparing glue, remember that it dries very quickly. The consistency of the finished solution should be similar to thickened sour cream. If it is made too liquid, you will have to hold the panel for a long time until it sticks. Too thick a solution will quickly set before being applied to the surface. Glue is applied to the surface of the wall and drywall with a spatula. After that, the panel is applied to the slope surface and pressed. Until the solution hardens, the position of the panel can be adjusted. Therefore, it is very important to check its correct leveling. Adjustment is made by lightly tapping the panel surface with your hand. This must be done carefully so as not to leave dents in the drywall. The side panels are installed first, then the top. The latter must be supported so that it does not sag under its own weight.
Surface putty. Since drywall panels do not have too large irregularities, it is enough to apply a thin layer of finishing putty on them. Before starting puttying, drywall must be primed and allowed to dry. Puttying is carried out with a solution of low density using a wide spatula. After it dries, all the irregularities are rubbed with a trowel with a mesh with small cells. After grouting is completed, it is necessary to check the surface for the presence of small potholes and places that have not been puttied. If there are any, these areas need to be redone. The fact is that the paint will not go well on places that are not puttied, leaving dark spots on the surface.
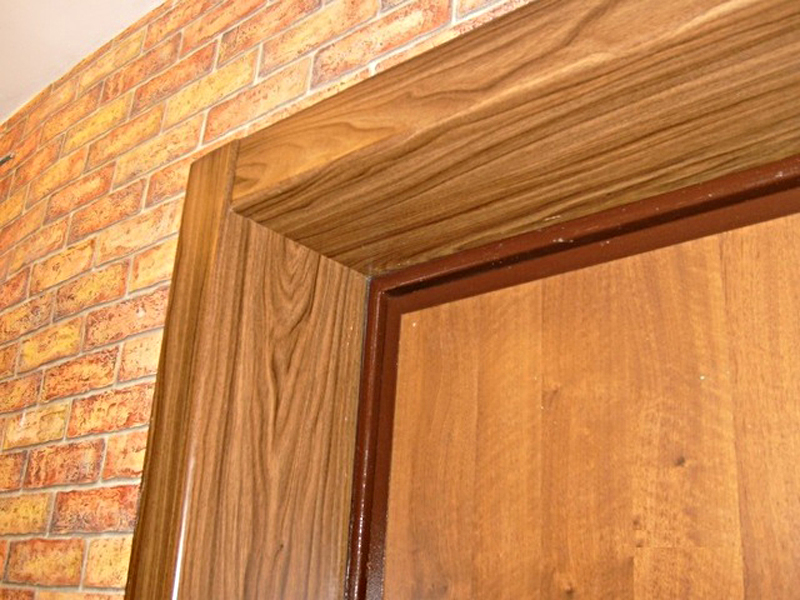
End sealing. The outer corners of the slope must be patched to level it with the wall. This is done with a simple putty. If the corner is uneven, you can use a perforated corner.
Painting. When the puttying process is completed, the drywall surface is again primed and painted. For painting it is better to use water-based paint. It is applied with a long-haired roller. For a good result, it is better to apply the paint in several layers, each of which should be perpendicular to the previous one.
The last step is to seal the gaps between the door frame and the panels. It is better to do this with acrylic sealant.
Do-it-yourself door slopes from plaster
This method is quite laborious, but at the same time gives excellent results. At the same time, the cost of finishing comes out much less due to cheaper materials.
Finishing the slopes with plaster is a dirty process, therefore, to protect the leaf and the door frame, it is better to stick a protective film on them.
Work begins with the installation of beacon profiles. They are needed so that the plaster lies on the surface as evenly as possible. Installation of profiles is carried out on a gypsum mortar. It dries quickly, which allows you to move on to other operations in time. When placing beacons, it is imperative to check their position in terms of level and adjust until the solution has solidified.
After the beacons are installed, you can start plastering. You can do the work with the help of the finished mixture (it will be more expensive) or make the solution yourself. It is prepared from cement and sand in a ratio of 1: 4. Before use, the sand must be sieved so that there are no large particles in it. The solution is thoroughly mixed with a mixer with the addition of water. The result should be a homogeneous mass with the consistency of thick sour cream. For better adhesion of the plaster, the surface can be moistened with water, pre-primed.
The solution is applied with a trowel and a trowel. A large amount of plaster is applied to the surface of the slope, which is stretched along the lighthouses. The plaster will dry for about a day (the time depends on the season and humidity). After that, a finishing putty is applied to it. Further, the recovery process is practically no different from finishing with drywall. Putty is rubbed, primed and painted.
Using the same technology, jambs are trimmed with an MDF panel.
Finishing slopes for entrance doors with laminate
Laminate is a very beautiful material. Due to the wide range of textures and different colors, the laminate can be selected according to the pattern of the doors, making the slopes part of a single composition. Among the advantages of this finishing material, its excellent performance characteristics can be noted. It does not scratch (of course, the laminate can be scratched if done purposefully), does not require special care, and looks attractive. In the process of finishing slopes with laminate, dry building mixtures are not used, which makes the installation process much cleaner.
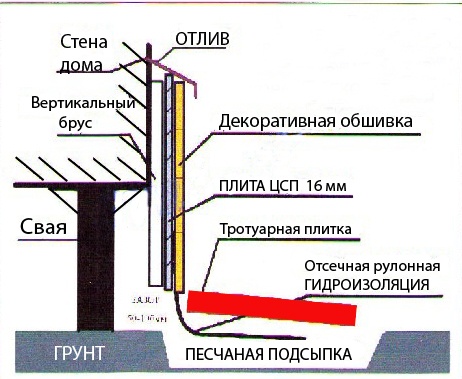
However, there are also some disadvantages. So, laminate does not like moisture very much. Therefore, if the slope of the front door is finished, it is necessary to provide waterproofing. In this case, the life of the laminate will be much longer.
Work order:
The laminate is mounted on a special frame, which is made of a metal profile or wooden slats. After the mounting foam dries, which sealed the gap between the doorway and the frame, it is removed with a sharp knife. Then the doorway is cleared of the remnants of plaster and dust. After that, it should be primed. Even if adhesive mixtures are not used, a primer will definitely not hurt. It will prevent further destruction and shedding of the wall.
After the primer dries, you can begin the construction of the frame. Laths are placed perpendicular to the direction of laying the laminate. For a slope up to 0.5 meters wide, two slats on each side are sufficient. One is installed on the outer corner of the jamb, the second - on the inside. The rails are fastened to the anchor. Each of them is set by level. If after that a gap forms between the rail and the wall, it is filled with mounting foam. After the latter has dried, its remnants are removed with a knife.
The next step is to cut the laminate into even lengths and lay them down. The laying operation is carried out in the direction from bottom to top. The first segment is attached from below at the level of the future plinth and at the level of the castle. Fasten the laminate with small nails or screws so that they do not interfere with inserting the next plank into the lock.
After fastening the first panel, the second is inserted into the lock of the first, and fastened with nails. Thus, the entire slope is done. Everything must be done carefully. If the first plank is attached incorrectly, then already on the third or fourth, the deviation will be noticeable.
Upon completion of work with the installation of laminated panels, decorative skirting boards and trims are mounted. The latter will close the gap between the corner bar. The platbands are fastened with small screws or liquid nails.
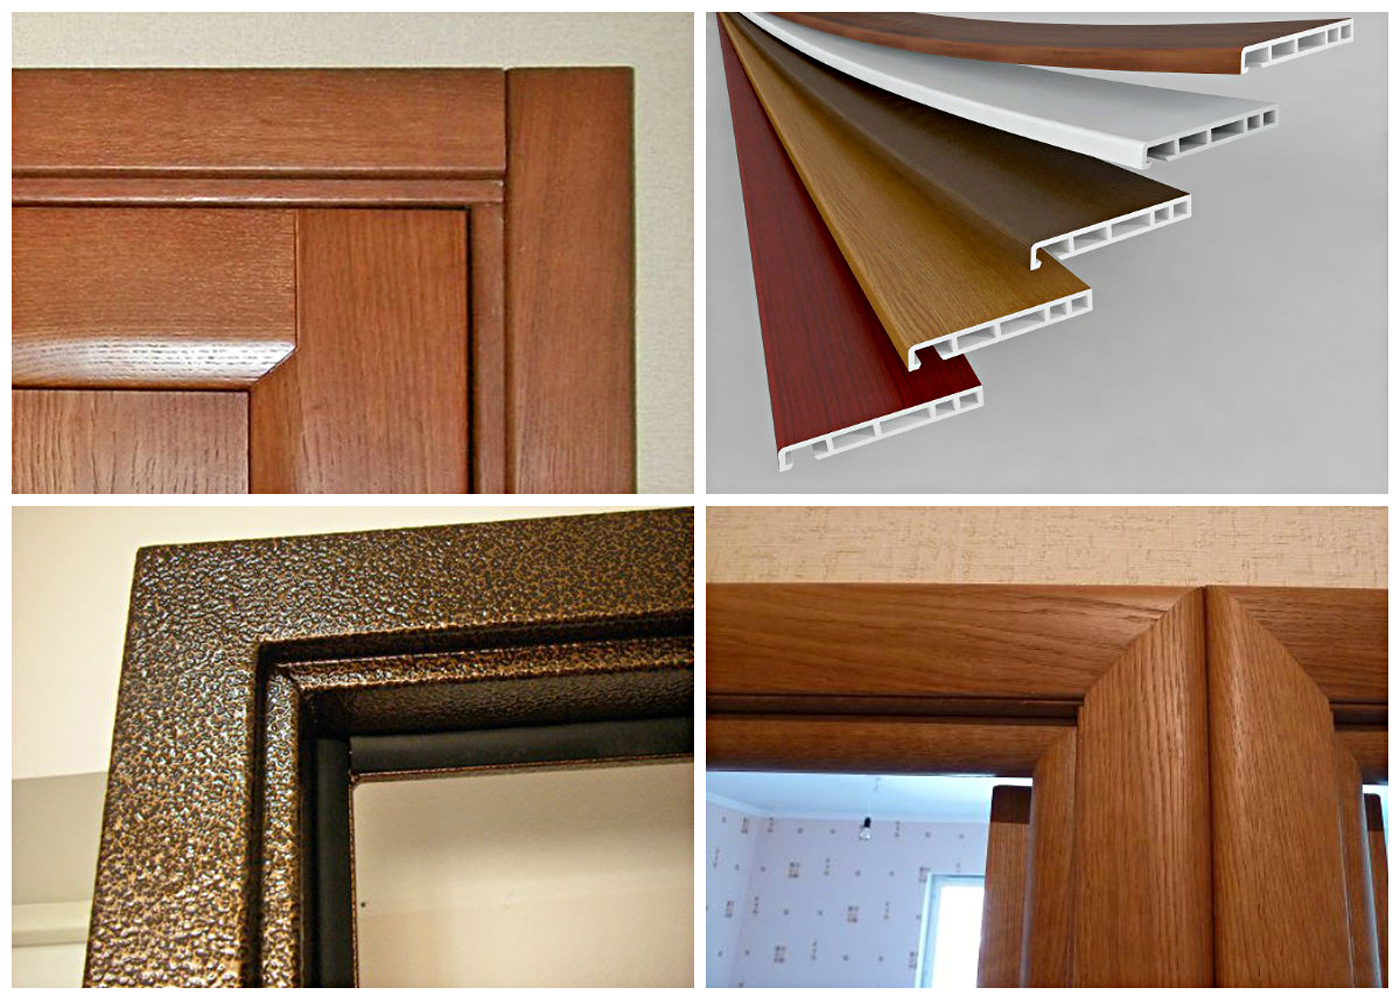
How to trim a door frame with plastic
Typically, this technique is used after installing plastic window or interior doors. Then the whole block looks like one. The process of finishing with plastic is practically no different from installing a laminate. The only difference is the step of attaching the plastic panels. Since plastic is inferior in strength to laminate, it must be fixed with a smaller step.
Plastic panels, as well as mdf slopes for entrance doors, are the most practical finishing option. They are not afraid of moisture, easy to clean, do not change their presentation. And their price in comparison with other materials is competitive.
If the surface of the jambs is sufficiently even, then the jamb can be finished with self-adhesive wallpaper or decorative film.