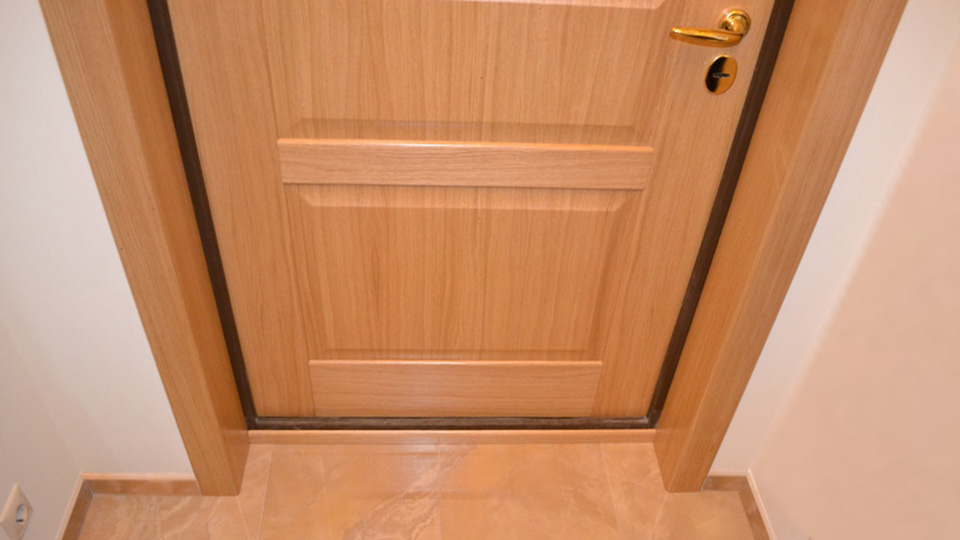
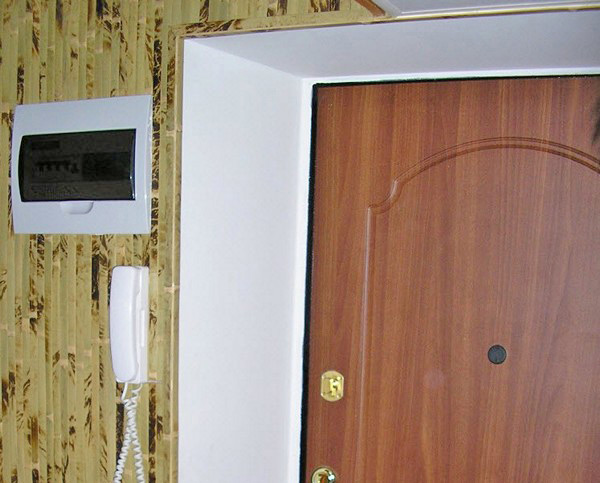
After replacing the door structure, the slopes are often a sad sight, so the decorative finishing of the front door jambs is an indispensable part of the work. It is quite possible to perform it without resorting to the help of professionals. Today we will tell you how to level and ennoble the front door opening with your own hands, as well as what materials you can use for this.
Depending on the amount of damage and irregularities remaining after the installation of the structure, the slopes are drawn up in one of the following ways:
Which option is more suitable for your home depends on the features of the door, the overall style of the interior, as well as personal preferences and needs. If reliable sound insulation is important to you, then you should opt for a continuous filling of the slopes with mortar. This will eliminate all voids and give the structure additional strength.
In some cases, when the consumption of the solution to fill the irregularities is too high, it is more expedient to mount the materials on a metal or wood frame. Thus, it will not be difficult to make the jambs perfectly even. Another advantage of this method is the ability to hide communications wires inside the slope, to mount a lamp or switch in it.
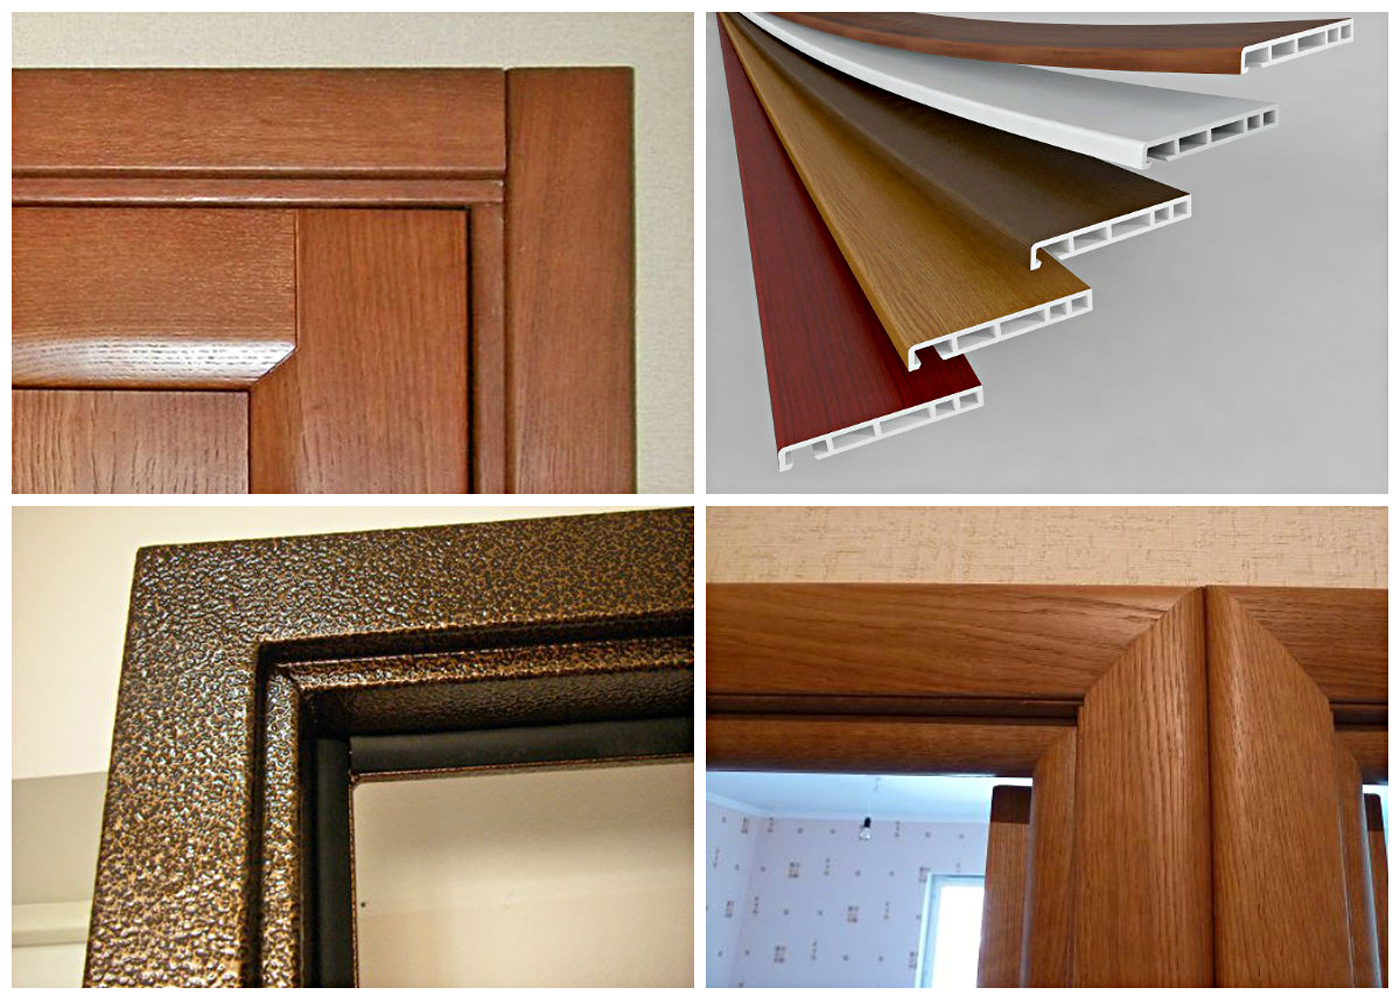
As for finishing materials, drywall, plastic and MDF panels, artificial stone, laminate, wood or decorative plaster are most often used. All of them have their own characteristics that should be considered. For example, plastic is quite fragile and easily damaged by mechanical stress, and applying even and high-quality plaster will require a lot of effort. Based on this, we can say that drywall and MDF are the most versatile materials, but the final decision on how to finish the doorway of the front door is up to you.
 MDF is a versatile material with a wide color palette
 Regardless of the chosen slope design method, do-it-yourself front door finishing should begin with the preparation of the door structure and walls. First you need to glue the surface of the box and the door itself with masking tape or a protective film to protect their coating from damage. Then the slope is leveled, eliminating too protruding fragments that may interfere with the plastering or installation of the frame.
Next, the jambs should be cleaned of dust and small debris using a brush or vacuum cleaner and a primer applied. For priming, it is better to use deep penetration compounds. To improve the thermal insulation properties at this stage, you can attach sheets of insulation. They can serve as foam or foam, which is mounted on a special glue.
Finishing the doorway of the front door with plaster begins with the installation of beacons, which can be used to navigate, leveling the surface. They are set according to the level, and it is best to mount them on a gypsum mortar. On the sides and top you need to install 2-3 beacons.
After the gypsum under the lighthouses grabs, you should start applying the plaster itself. To do this, you will need to prepare a solution of water and sand with cement (in a ratio of 1: 4), you can also add a little gypsum to the plaster. Then the mixture is thoroughly mixed with a special nozzle on a drill and brought to the consistency of thick sour cream.
 Keep the mixture evenly distributed
 The prepared mixture is distributed over the surface of the slopes with a plaster trowel and leveled over the beacons. First of all, the upper slope is plastered, and then the side slopes. After applying and leveling the solution, it must be allowed to dry for at least 24 hours.
Further, perforated corners made of plastic or metal are attached to the outer corners of the slopes. If the room has high humidity, then the first option is preferable, since the metal in such conditions can rust over time and spoil the appearance of the structure. Then a layer of starting putty is applied, a reinforcing mesh is placed on top of it and finishing putty is performed. After drying, the coating can be painted or left in its original form.
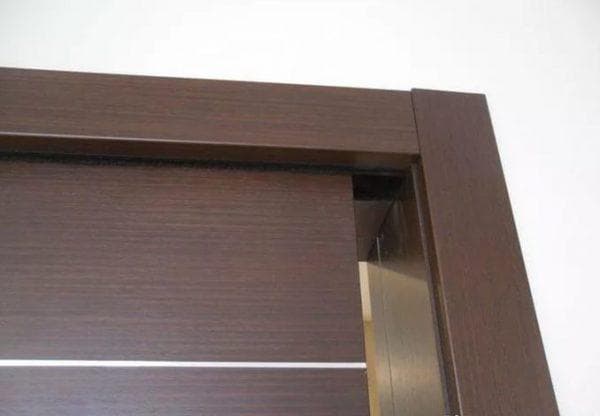
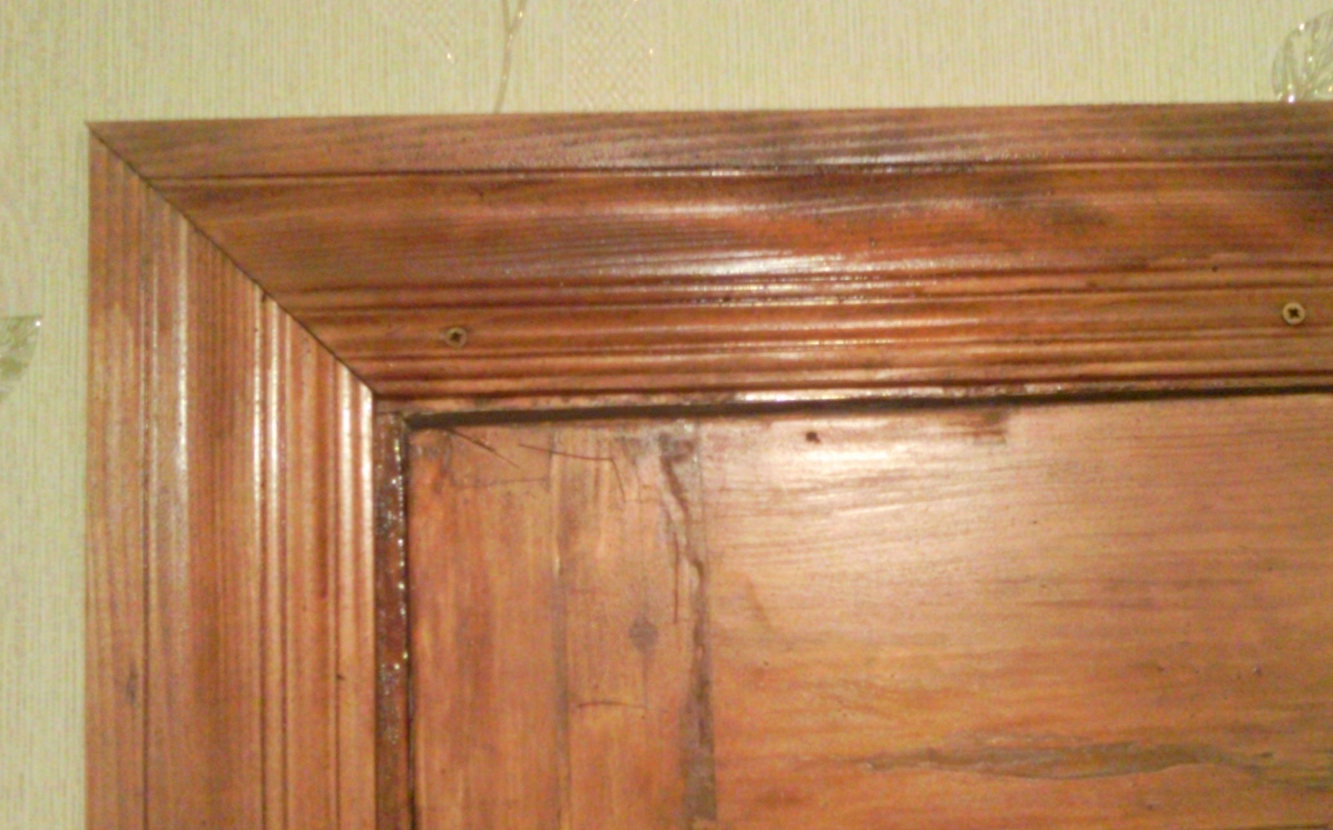
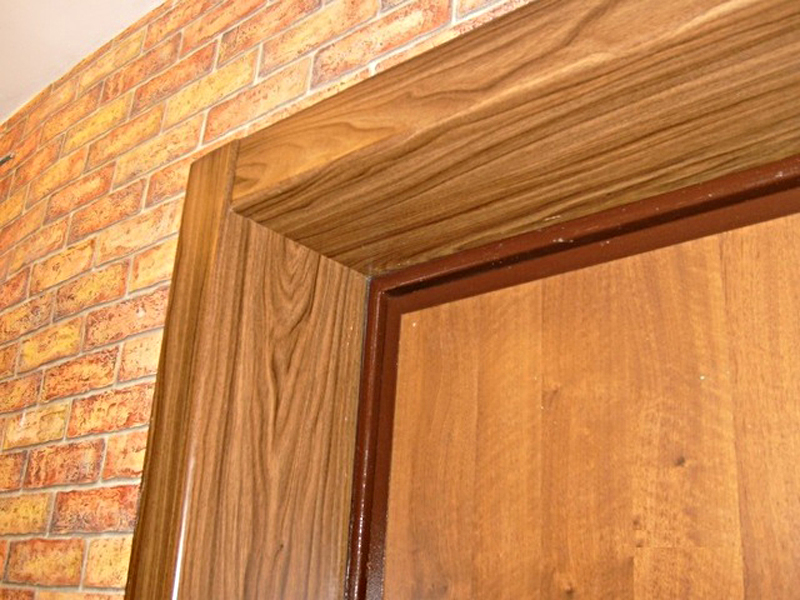
Finishing the front door with stone or other decorative material is a modern and popular way to design slopes. Priming and leveling are carried out in the same way as described above, and then the selected finishing panels are fixed on the door slopes with special glue or mortar.
In order to control the uniformity of the distribution of the solution during leveling, it is recommended to screw the screws into the doorposts, set according to the level. Material will subsequently be based on them. Then the remaining voids are filled with mortar, leaving the screws protruding slightly.
The filler is a standard cement mixture, the same as in the preparation of slopes for plastering. To obtain a stronger adhesion, a layer of adhesive is applied to the dried solution so that the remaining small margin of space to the screw heads is filled with it. Glue is also applied to the reverse side of the selected material.
 stone finish
 Further, decorative panels are applied to the slopes and pressed until docking with the screw heads. While the glue has not had time to harden, it is imperative to check the correctness of their location and, if necessary, correct it. Sometimes, if there were errors in alignment, gaps may form in places after the glue dries. In this case, they can be covered with sealing compounds and hidden under the door trim.
Advice! If you plan to hang wallpaper in the hallway, it is best to do this before installing the trim.
And, finally, we will consider how to finish the front door by fixing the materials on the frame. For this type of finish, priming is also performed, it helps to prevent shedding of the surface. Then you need to prepare everything that is needed for the construction of the frame structure, namely:
 Metal profile for the frame
 The slopes should be leveled so that the frame fits snugly with the walls. Further, holes are drilled along the entire length of the slopes and dowels are inserted, two profiles or wooden bars are mounted on them, located parallel to each other. In the corners, it is recommended to strengthen the structure by placing jumpers between the parallel elements of the frame.
After the frame is ready, you can put communication cables inside it and proceed to fixing the finishing panels. Depending on which material was chosen, the installation process has some features.
If you decide to make slopes of drywall, then fix it on the frame with the help of small self-tapping screws. Usually, a small gap remains between the wall and the material, which can be hidden by sealing it with mortar. The joints of drywall with the edge of the slope must be reinforced with reinforced perforated corners, and glue the remaining joints with sickle tape, paying special attention to the junctions of the top with the sidewalls.
The final finishing of the jambs consists in filling the surface and leveling it with a finely abrasive float. Then the slopes can be painted or wallpaper glued on top.
Note! Drywall painting is usually done with water-based paint, using a roller to apply it, since the brush does not give the desired coverage uniformity.
 It is better to hide the joints between MDF panels under special platbands
 When installing MDF panels, which are one of the most durable finishing materials, fixing occurs by analogy with drywall. However, in terms of the amount of labor costs, MDF even wins, since the mass of ready-made solutions for this material significantly reduces the time for finishing and simplifies it. The butt lines formed during the installation of MDF panels are best hidden under the platbands, which are attached to liquid nails.
Do-it-yourself interior decoration of the front door can also be done using laminate. It is laid along or across, while the individual fragments are connected to each other by means of a lock. With a transverse arrangement of the lamellas, every third must be fixed on the frame with self-tapping screws, and with a longitudinal arrangement, all side lamellas are fixed in three places (in the upper part, below and in the middle). After the installation is completed, it remains only to attach the trim and perform minor finishing work, for example, insert lamps or a switch, if these elements were planned.
 Installing the backlight - the final stage of work
 As you can see, the design of slopes, whether it is finishing the front door with decorative stone, drywall or plaster, is quite a feasible task even for a non-professional. It remains only to choose the option to your liking and get to work. Good luck!