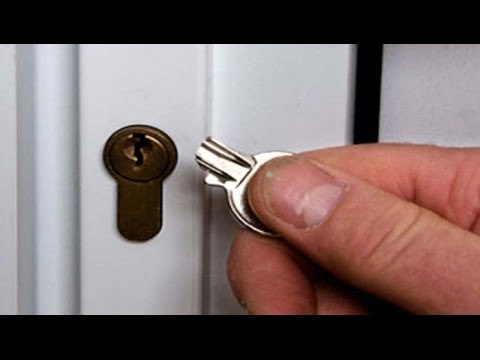
What are platbands and why are they needed? We can say that this is a necessary element of decor. It performs an aesthetic function, but without them, the door will simply look sloppy, this is a way to hide some construction flaws, close the gap between the wall and the doorway. There is nothing complicated directly in the technology of installing cash on the door with your own hands, but since this is the finishing touch of all the work, you will need to concentrate and do everything carefully. In addition, it is important to take into account some of the nuances in sawing and fastening. Let's talk in more detail about how to fix trim on interior doors in this article.
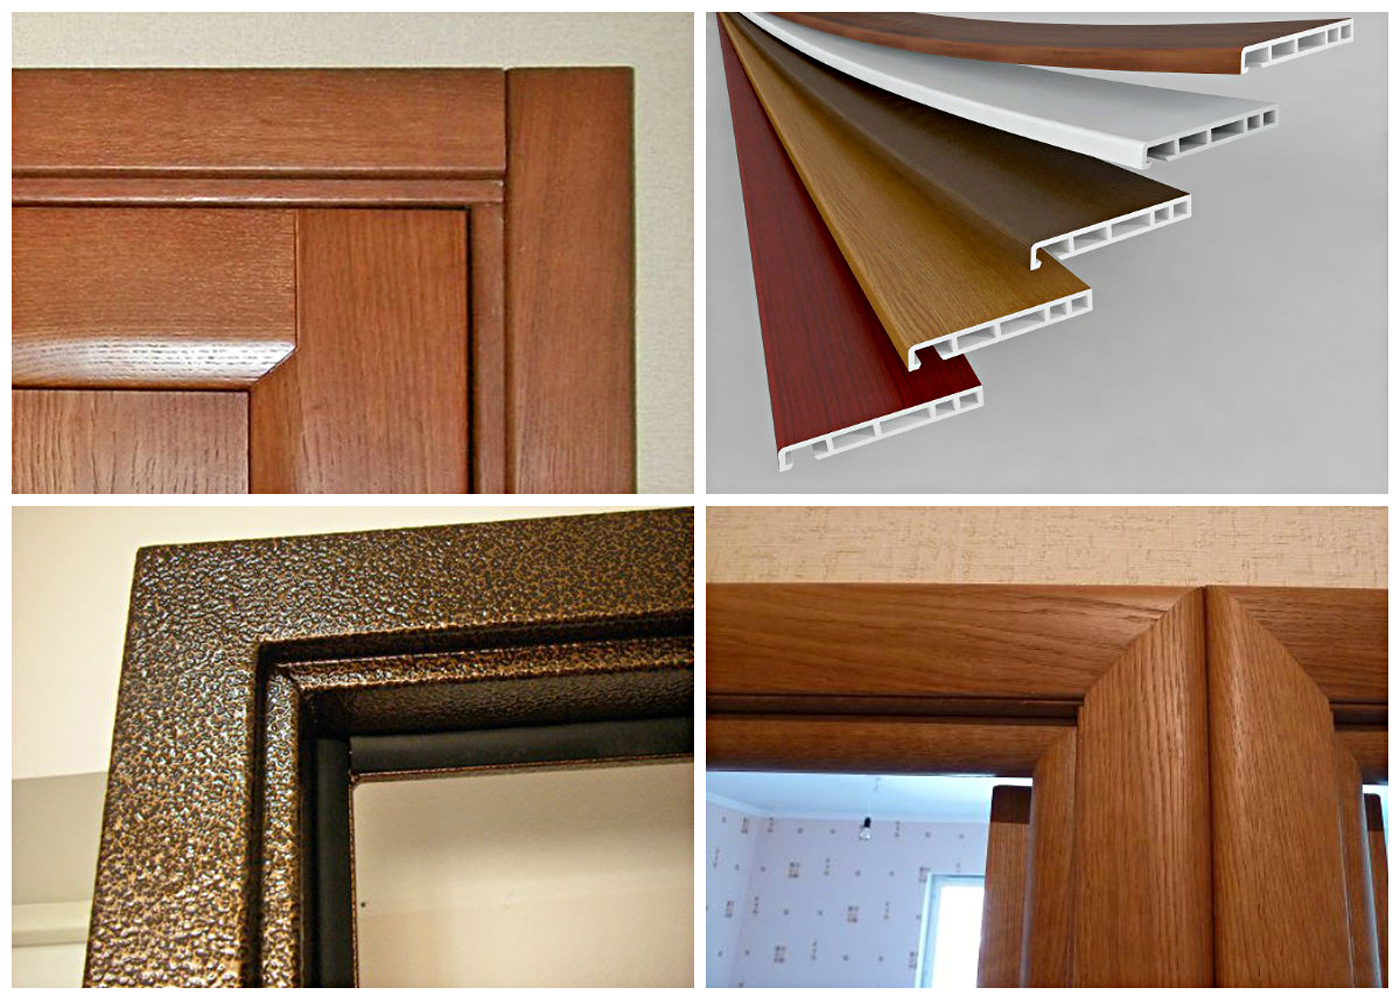
The most popular types of platbands are molded natural wood, MDF or plastic. Professional carpenters recommend using laminated or veneered MDF or PVC - they practically do not give a negative reaction to fluctuations in humidity or temperature, and this is a big plus for our climate. Structures made of such material can even be used for bath doors, as they are moisture resistant and stable at any temperature.
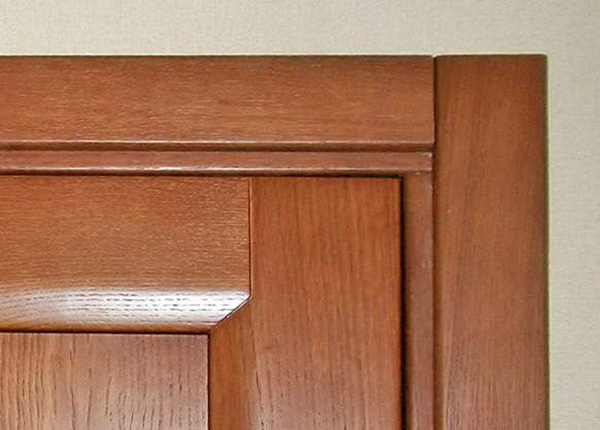
Wooden
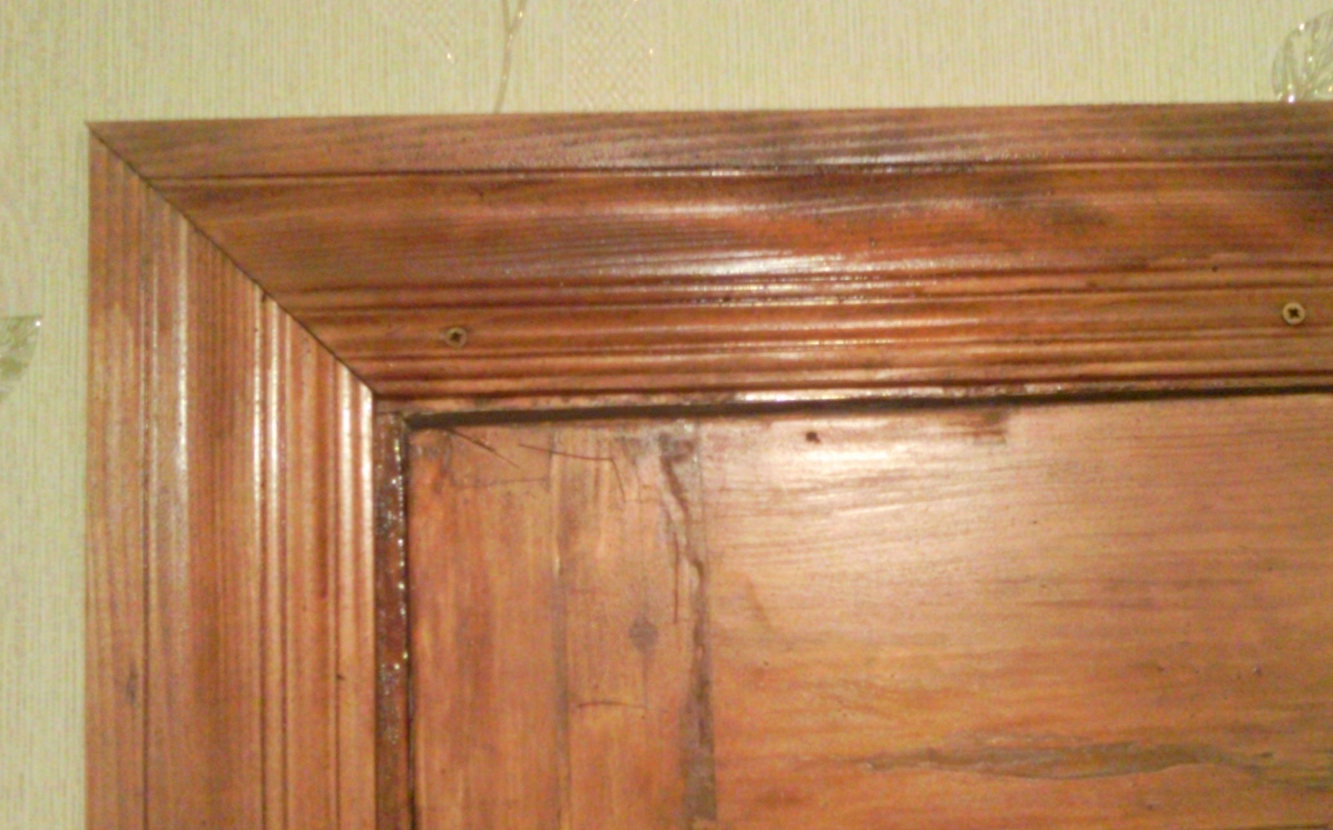
It is recommended to fasten natural wood platbands using liquid nails, but you can also use nails without hats on a thin leg. Hats will look sloppy and attract too much attention, so you need to get rid of them - you can just cut them yourself, or you can fix the tree with a special construction gun that shoots with “studs”. But not always at hand there is special equipment and the ability to immediately mask the fasteners. There is a solution for this case: the nail heads are “drowned” in the wood, after which the second stage is hidden with a sealant of a suitable color or with a wax corrective pencil.
In each of the described cases there are nuances that need to be taken into account. If you decide to use adhesives, you need to remember that problems may arise during dismantling. For example, if you have to do cable laying or just repairs, then most likely you will encounter difficulties.
And you can use liquid nails only if you have absolutely even walls, otherwise there will be a gap between it and the casing.
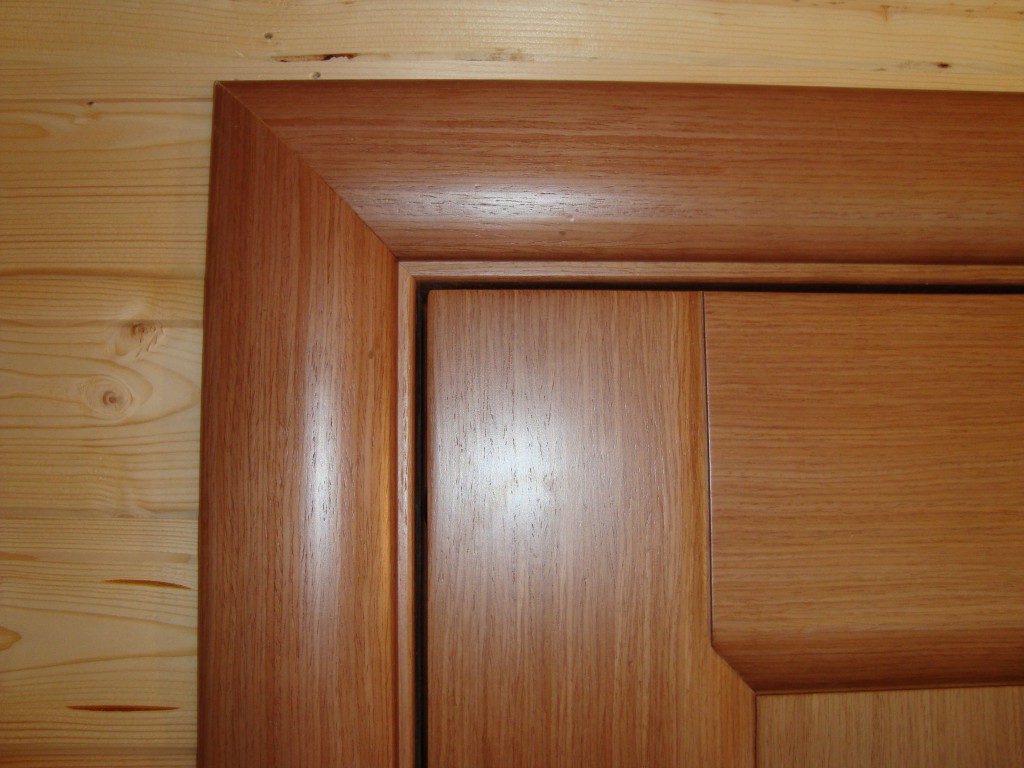
MDF
If you decide to use MDF platbands, you need to know that although outwardly they are practically indistinguishable from natural wood, they need to be fixed according to different rules. You can not make through holes, so you damage the surface and it will look sloppy. And in order to connect the casing to the wall, it is better to make small holes with a diameter of only 1-1.5 mm. In addition, the easiest way to attach MDF will be glue.
Plastic
Plastic architraves are the cheapest option of all, therefore, as a rule, there is no question that they will have to be repaired during dismantling - more often they are simply removed and replaced with others without regrets. They are more flexible, so they are ideal for smoothing imperfect walls with roughness a little. At the same time, you should be aware that if the wall adjacent to the doorway is very bumpy, no plastic can hide this defect.

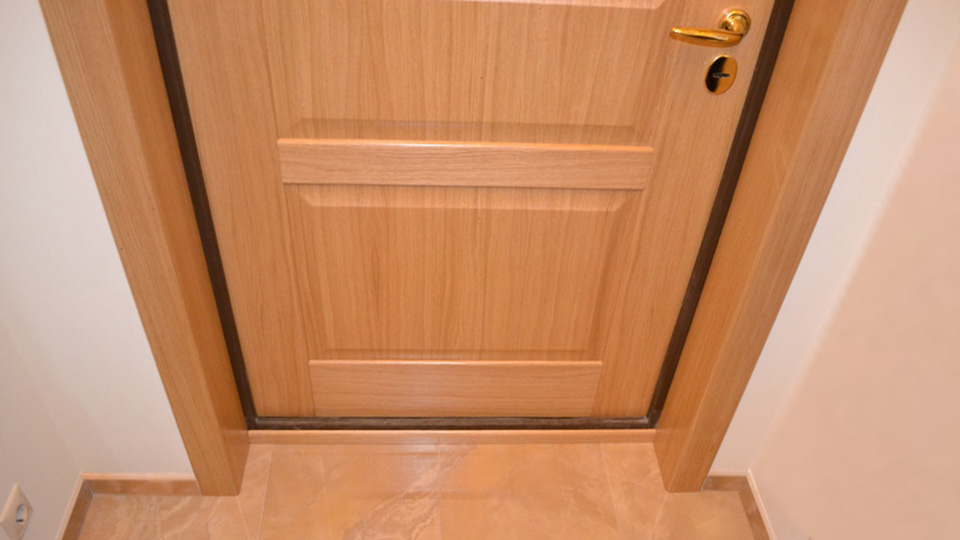
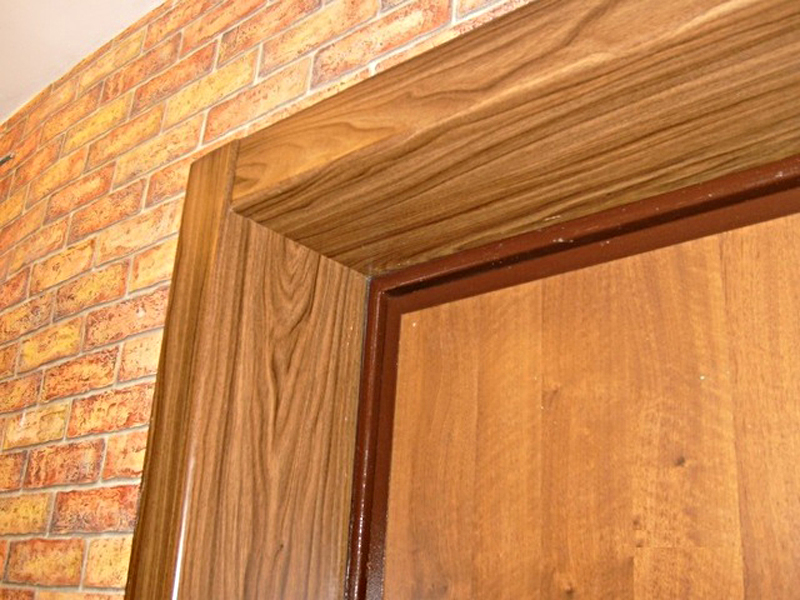
Photo from balkonsami.ru
In order to decide on the choice of angle, you must first decide on the design issue. What will your plank look like and which design would you prefer? In the assortment for those who want to know how to properly nail the trim on the door, there are only two options:
So, you need to make a perfectly even cut of the workpiece, and for this you will need a miter box and a hand saw with small teeth, which can be used to correct minor flaws in the rough work. Of course, ideally, we advise you to cut on a specialized crosscut saw, which is equipped with a rotating platform.
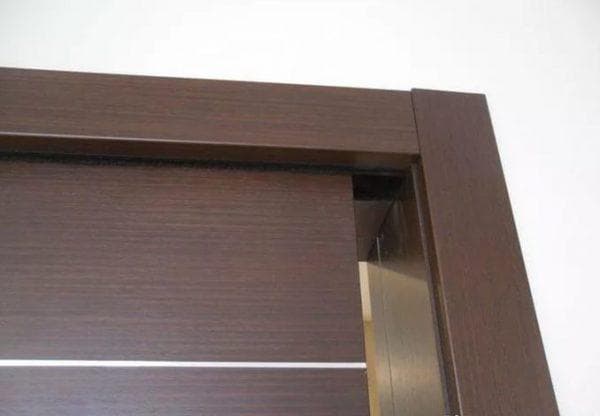
What is a telescopic casing and why did we decide to make this paragraph a separate paragraph? The fact is that the installation of such a door frame is fundamentally different from the rest of the technology. The name itself gives a hint - on such a bar there is a protruding part - a slot that is embedded in the grooves of the box.
Not everyone faces the problem of assembling such structures, only those who purchase doors from domestic manufacturers. Fasteners are not made at all, in order to arrange a doorway, no additional tools and devices are needed. You can adjust any dimensional discrepancy between the box and the opening with this “telescope” device.
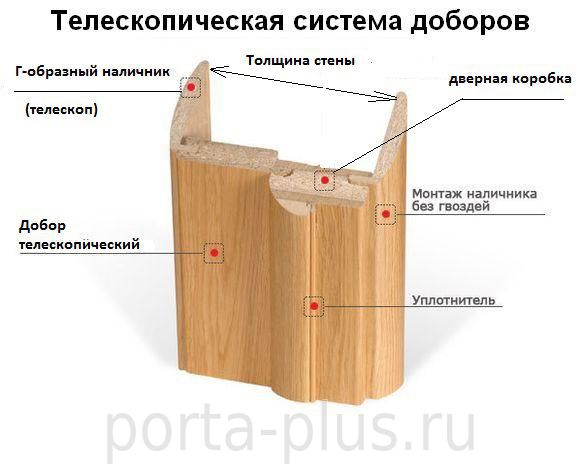
A detailed description indicating the exact installation steps is attached to the purchase in the instructions from the manufacturer, there is no general information about the installation, since a different format of work is suitable for each specific case. Despite the fact that there is a lot in common, the nuances are of great importance. On the advice of experts, you should still strengthen the bonding points with liquid nails.
First you need to process the opening, for this we will take a special construction knife and remove the mounting foam. Try to make the cut as even as possible, but be careful with the wooden door frame itself - do not damage it.

Then let's check - measure how much the wall and the doorway match in level. This is necessary in order to know what shortcomings will have to be corrected in the process and take into account defects in further work. Before work, you need to cut the ends from the bottom of the platbands so that they are equally even.
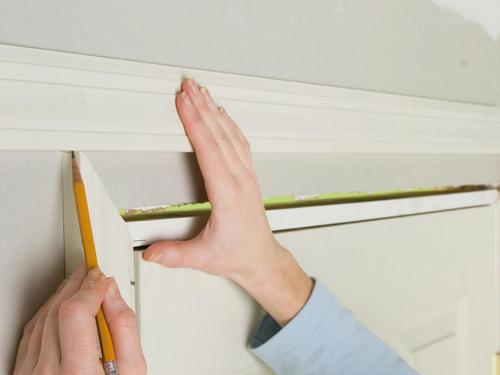
Next, we note where the trim will be attached - it is important that after installation the door can freely open and close. In addition, follow the position of the hinges and the lock - everything should remain in working order. Planks need to be attached to the box and mark with a pencil their location a couple of millimeters above the corner.
We are engaged in vertical platbands. We apply them to the marks and mark ourselves the height of the drank with a pencil. An important and negative factor at this stage of work can be the curvature of the floors. When you measure the sawing place, number each component part, because despite the external similarity of the parts, it is not a fact that a difference of a couple of millimeters will remain invisible.
Please note that the cut must be even and not torn, while you need to measure clearly 45 degrees so that an error in the form of a few millimeters does not come out sideways later. To make a neat cut, do not let the cutting technique go too hard, the slower the saw runs, the better you can control the situation, and accordingly, the curvature.
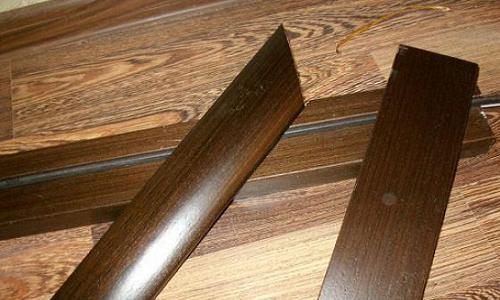
You need to measure 45 degrees from both ends of the board, but we offer an easier and less risky method. Attach both vertical platbands to the opening and lead the horizontal one behind them, and now just mark the cut points with a pencil. This way you can avoid measurement errors and ugly gaps.
You should start with vertical ones, only after that do horizontal ones. If you decide to use nails, you should not hammer them all the way right away, it is better to leave a few mm in order to quickly correct it in case of a mistake.
How to nail the casing in an easier way? Do not cut the slats and leave them in their original form - rectangular. Unfortunately, this design option is not suitable for any type of opening and door frame, but if you have a rectangular section or small rounded edges, this is the solution. The planks are connected to each other at an angle of 90 degrees relative to each other. It looks like this: two vertical, long platbands are placed with a small margin on top, and a small horizontal one is “implanted” between them. This greatly facilitates the process, but does not make it completely elementary.
Accurate measurements and accurate cuts still cannot be canceled. Of course, here you only need to calculate the height of the vertical rails and the length of the horizontal one, but if you make a mistake in this, you will have to redo all or part of the work, depending on the error.

Of course, there is no need to engage in "curly" cutting a certain angle. When it comes to installing platbands at a right angle, it is important to understand that even a significant simplification of the entire process compared to the previous one does not mean that you can nail the bar on interior doors at random without first comparing them with the wall and measuring the attachment point with a pencil.
Firstly, you should definitely not use natural wood as the main material. As already mentioned, wooden platbands are too susceptible to changes in temperature and moisture concentration in the air, and the front door, even if it is not a private house, but an exit to the entrance, is in close contact with the environment.
Secondly, remember about condensation - when the degrees jump, moisture evaporates, and this is fraught with mold. Treat the surface of the planks and walls with special solutions. Well, in order for the planks to fit most tightly, it is better to level the surface from the very beginning.
In order not to detect mold spreading from the front door, be sure to treat the place where the trim is to be installed.
Well, to summarize this point, we can say that the use of platbands to frame the front door is too problematic - you will constantly have to monitor their condition, not everyone is ready to devote time and effort to this. Any front door is an inconvenient area for using wood, and plastic often looks cheap. Therefore, we propose to do it easier - leave the doorway without decoration and just make it neat - level the wall, wallpaper it or paint it.
We hope that the information will be useful for you and you will definitely use our tips when installing platbands on doors with your own hands.