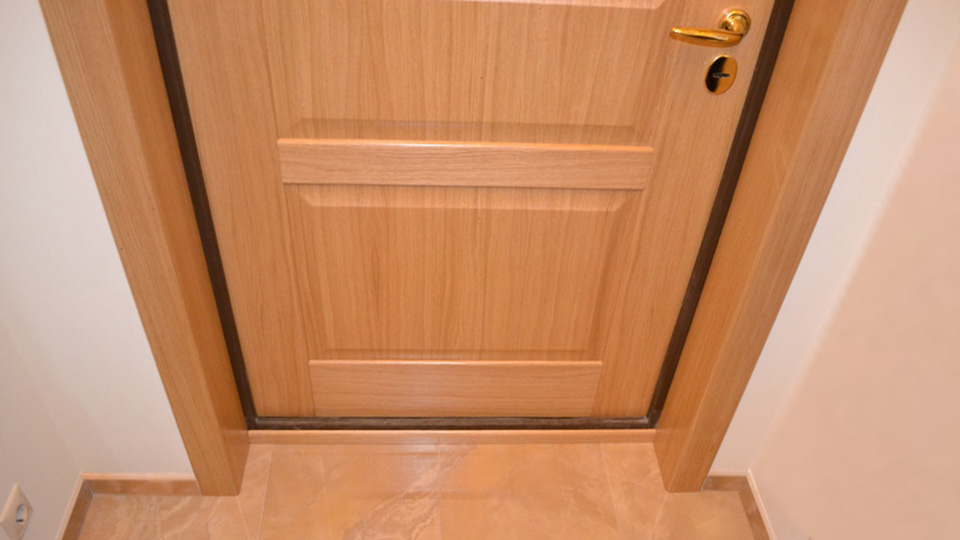
The installation of platbands on the door frame is the final stage in the construction of the entire door structure. Cashings, first of all, serve as a decorating element that closes the interface between the entrance wall opening and the door frame. The correct selection of the color and texture of the element, which should be identical or as close as possible to the shade and material of the installed door, will help to ennoble and give a decent appearance.
The final decoration of the doorway should be carried out at the final stage of the repair of the entire room - after whitewashing, painting and wallpapering the walls. This, at first glance, simple work, requires some attention and accuracy. The problem here is the exact fit and proper installation of the trim on the door - without any gaps and distortions.
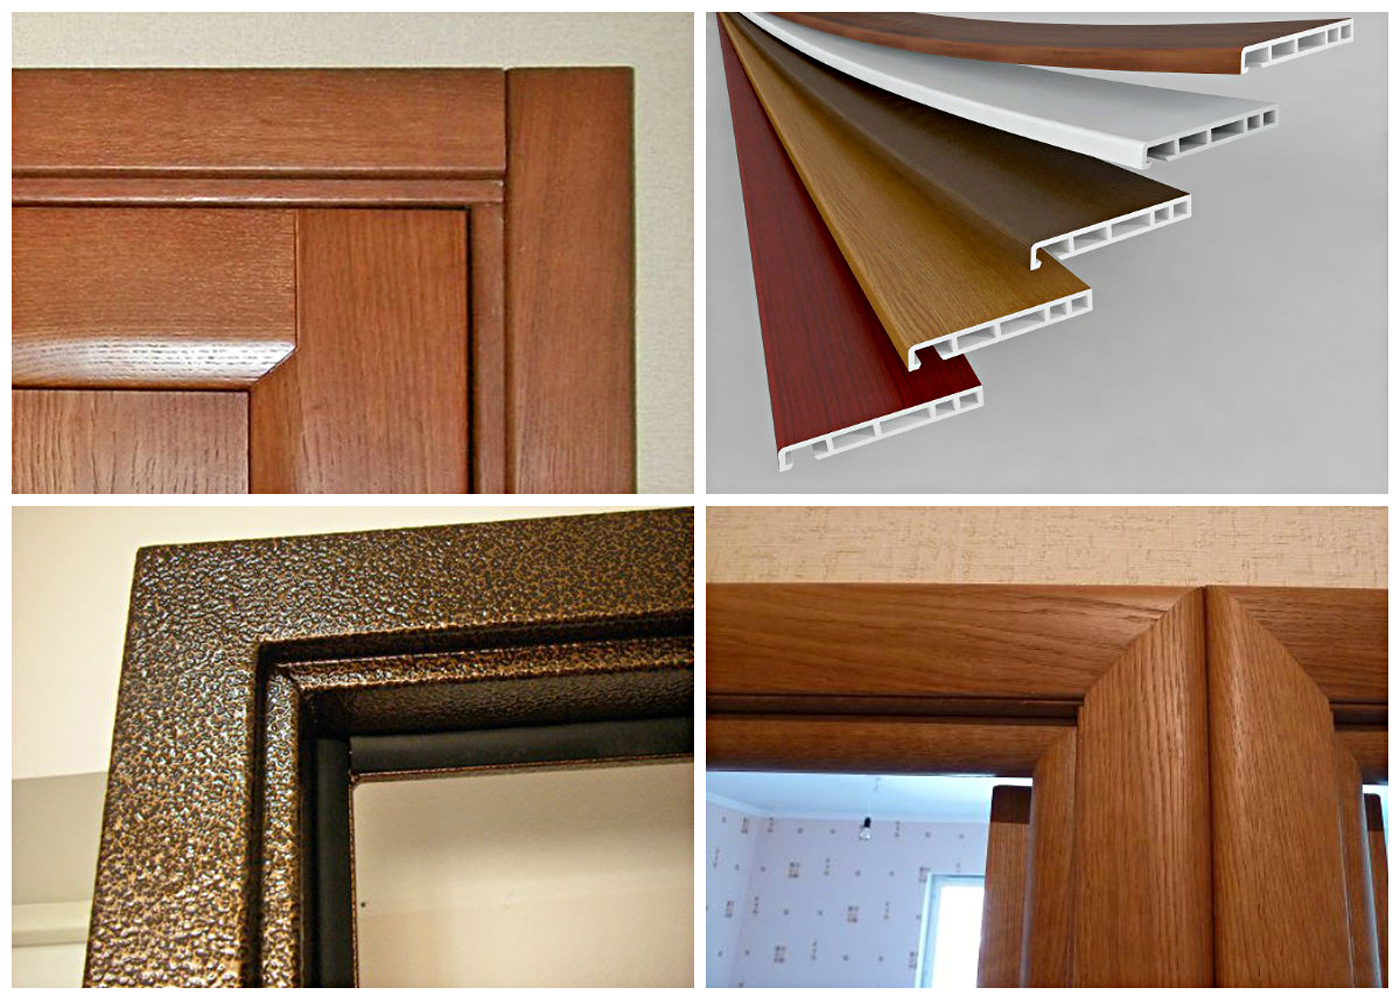
Door platbands can also include such an element of decor as a capital. It is made mainly from solid wood and decorated with a sophisticated engraving pattern, which gives the whole room sophistication and aristocracy.
When installing platbands on interior doors, it is advisable to focus on the materials from which the door itself is made. If the door leaf is veneered or made of MDF, then there is no need to select material for cashing. In this case, platbands made of laminated MDF will be the most suitable.
It is impossible to give preference to any form - this is a matter of taste. However, it is worth remembering that the classic flat strips for self-assembly will be more convenient to use and help to avoid marriage.
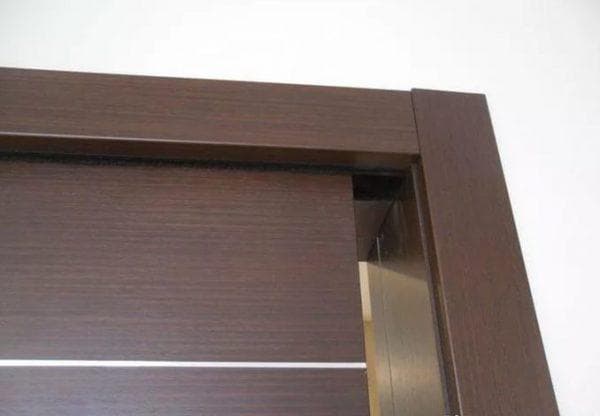
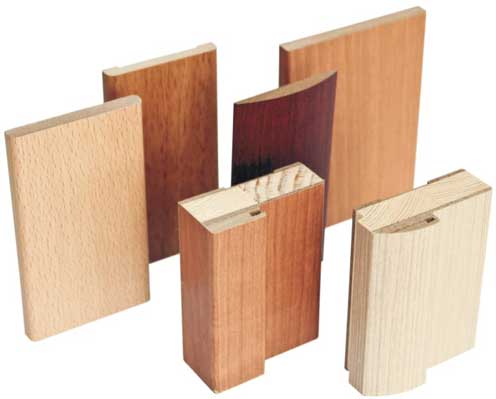
Installation of overhead platbands on the door provides for their direct fastening to the door frame with glue or nails. Installation of telescopic architraves, due to their design features, can be carried out without the use of any special elements. Such cashing does not give distortions and does not need additional fasteners.
Their design difference is the presence of a special slotted ledge, made at a right angle and inserted into the longitudinal groove of the door frame. Such platbands make it visually monolithic, leaving the fasteners invisible. They are intended for arranging non-standard openings.
For walls that are too thick compared to the door frame, additional extensions may be required. By correcting with their help the difference between the thickness of the enclosing structure and the width of the box, you can achieve a perfectly neat appearance of the installed door.

To begin with, the internal dimensions of the vertical cashing are determined in one of the following ways:
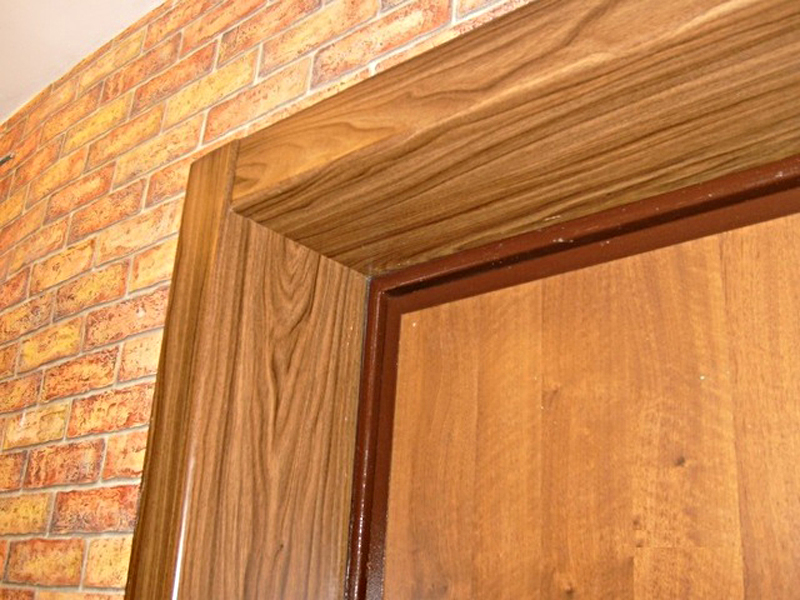
The resulting mark will become the starting point for the future cut. Carefully, maintaining an angle of 45 degrees, the bar is cut so that its size on the outside is larger than on the inside.
The use of a carpenter's miter box will greatly simplify the work.

When determining the cut lines on the platbands, it should be borne in mind that their direction will be different on different sides of the door leaf. Do not forget that each plank will require an individual measurement. And yet - to begin the installation of cashing should be from the side of the hinges of the door opening "on itself".
Prepared side trims are not nailed close and only two nails - one closer to the floor, the other in the middle. A blank for the upper bar is slipped into the gap left on top and markings are drawn on it in place for the future gash. This will allow you to get rid of errors and the formation of large gaps during the subsequent pairing of all elements.
You can correct the location of the entire cashing by lightly tapping on the sidewalls of the planks, previously baited on nails. If the gaps are large enough, then one nail is removed from the plank, after which it is given the desired position. The final installation of the prepared platbands on the door is possible only after their careful adjustment in size while maintaining the correct angles and minimum gaps of the parts to be joined.
For cashing fasteners, it is best to use thin carnations, in which, after punching into the door frame, the cap is removed with wire cutters. A uniform step of about 15 centimeters will be quite sufficient for reliable fastening. If the adjacent walls of the doorway are even, then it will be enough to fix the platbands in the upper and lower parts with a pair of nails driven in the middle of the plank.
Copper or galvanized nails should be used, as they do not give dark smudges on wood over time, even in rooms with excessive humidity.

For fixing platbands from MDF, a slightly different technology is required. To work with them, blind holes should be pre-drilled with a thin drill in order to minimize the risk of damaging the plank when driving a nail. The same additional preparation must be made when using self-tapping screws as fasteners. But they will require holes that are somewhat larger in diameter in order to drown the caps, which are subsequently covered with plugs to match the trim, or sealed with acrylic putty before painting it.
The use of adhesives or liquid nails is used only for perfectly smooth walls adjacent to the door frame. Such fastening is not possible in rooms with high humidity, such as bathrooms and toilets.
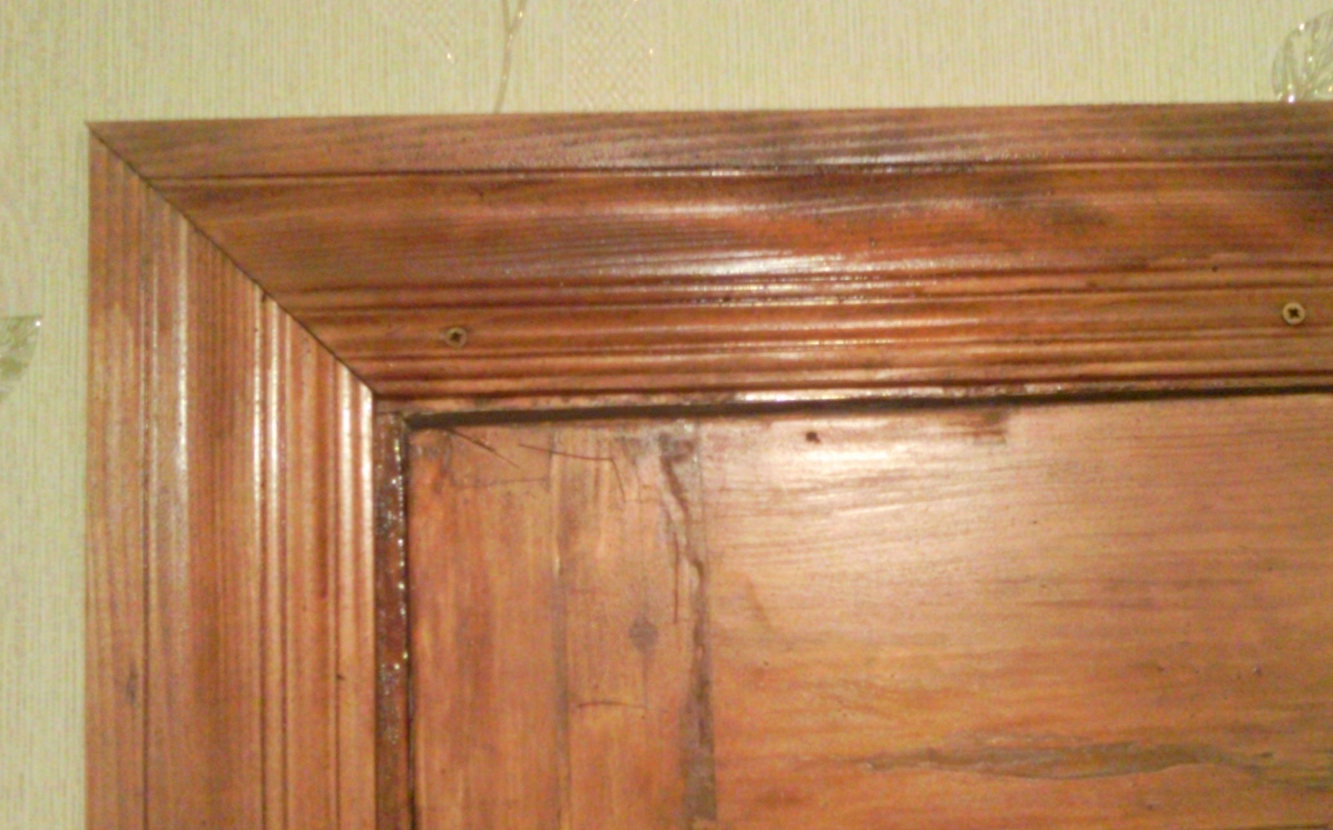
When choosing wooden platbands, you should pay attention to the quality of the drying of the board. Poorly dried wood:
In order not to spoil the workpiece, the length of the cashing should be measured with a margin of at least 1 cm, which is useful when adjusting the corners of the parts to be joined. It is easier to cut off the excess from the opposite end of the bar.
It is not necessary to use a moisture-resistant marker for marking on the front side. It will be difficult to remove traced lines with a simple erase.

Trimming of platbands is best done with a miter saw. It will provide a clean cut without chipping. Carefully correcting cut corners is easier with a belt sander. With its help, you can achieve perfect docking in the corners.
If gaps formed during the installation of platbands on the door, they can be made almost invisible by using a mixture based on beeswax, which is purchased at a building supermarket. Heated and brought to the state of a plastic mass, it perfectly fills the gaps formed.
Visually, the cashing, which rises 10 centimeters above the doorway, looks better, and the same platbands on all doors will provide a single style of the premises in the apartment.