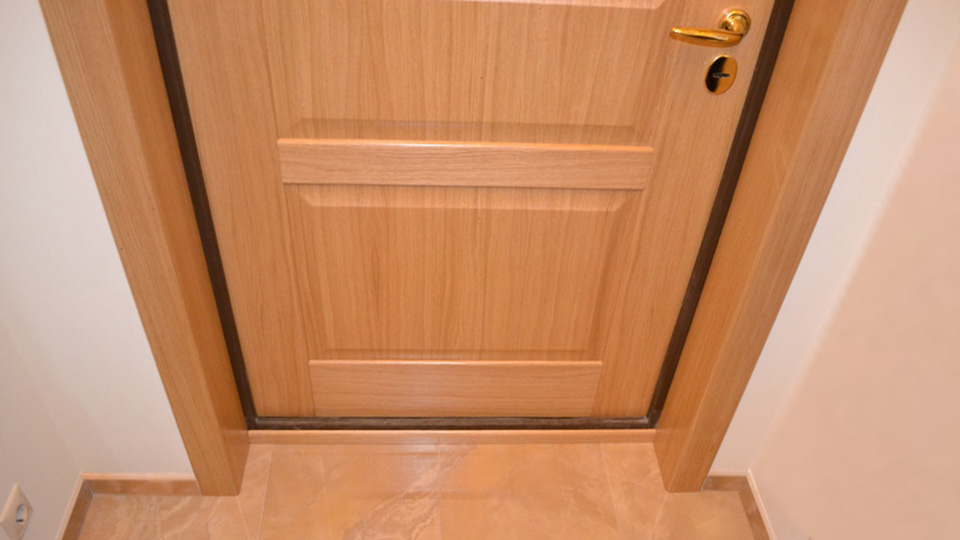
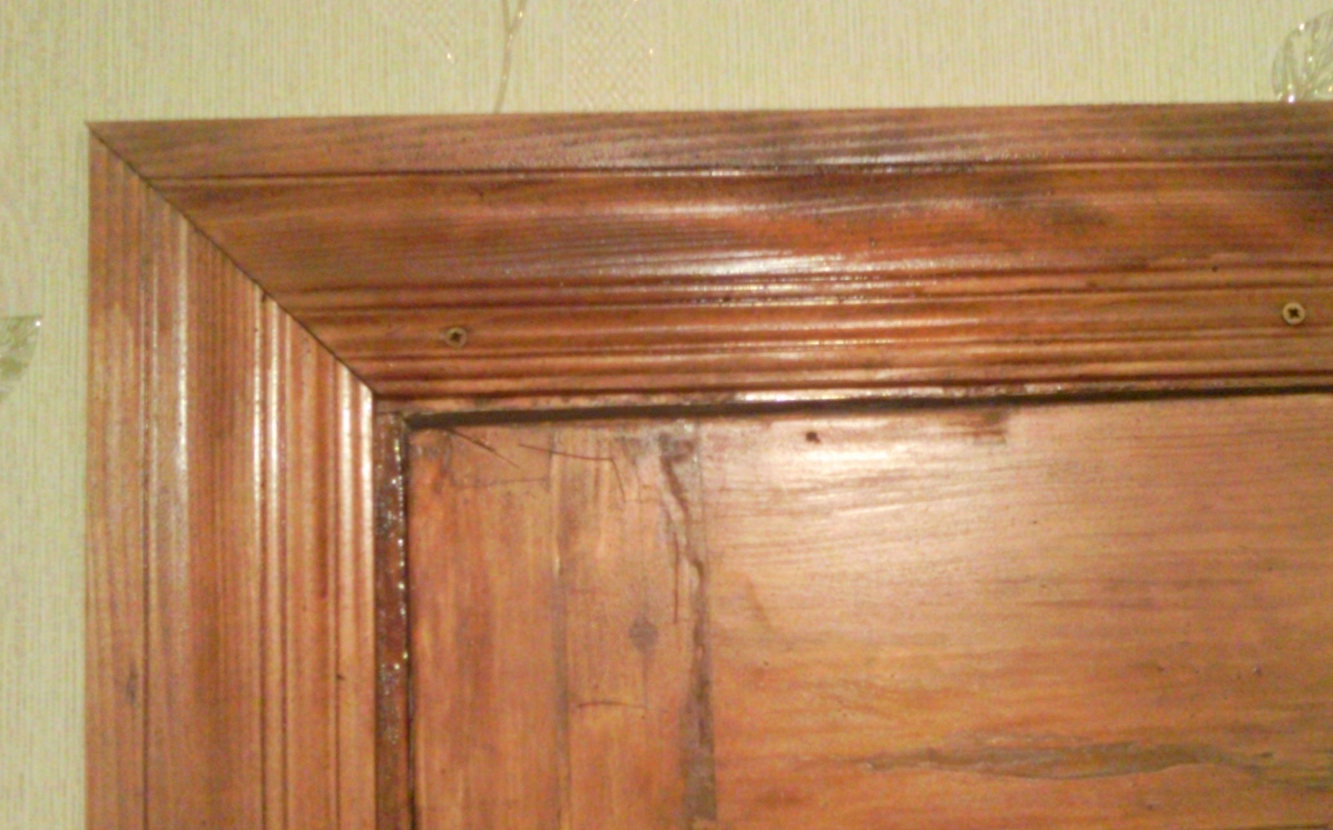
The platbands are a decorative element in the design of the door, which improves its aesthetic appearance. The main function of such overlay strips is to frame the door, which helps to hide all the installation flaws, as well as the gaps that form between the door frame and the wall. Installation of platbands is a fairly simple process that acts as the final decorative stage. When self-attaching the platbands to the door, it is necessary to carry out all the work carefully and scrupulously.
Thanks to the cashing of the doorway, any door structure can be given an aesthetic appearance and put an end to the repair of rooms. In terms of value, this stage is equivalent to installing a skirting board or attaching a cornice under the curtains. As a result, these works should be given special attention.
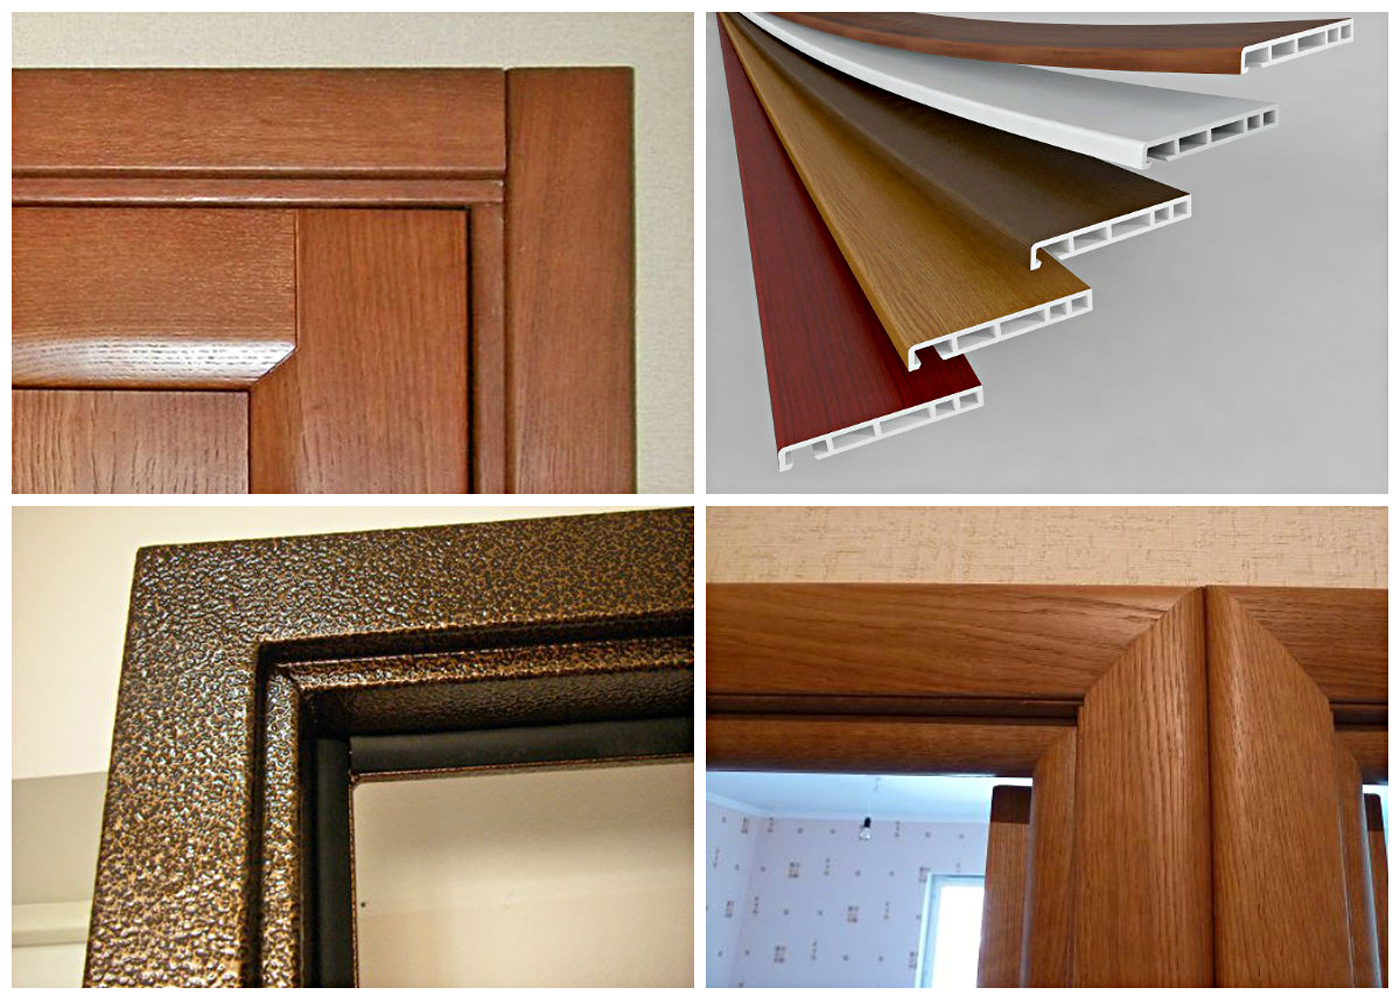
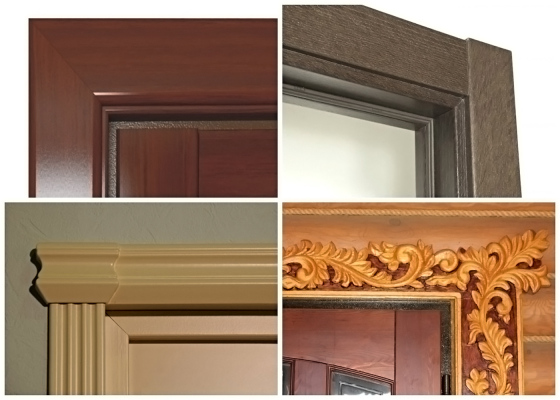
Platbands on the door are divided into several types depending on the material of production and the type of their coating. They can be made of wood, laminated plastic, lacquered or veneered. The main purpose of cashing doors is to hide all the free space that forms between the door frame and the wall. This process is carried out directly at the stage of installation of the door itself or upon completion of the entire repair.
In order to understand how to nail the trim on, first of all, you need to know how to attach them. For the most part, finishing nails are used to fasten the platbands. The length of such nails should be no more than four centimeters. This is due to the fact that the nails must enter the door frame to a depth of at least one and a half centimeters.
An important point: it is recommended to purchase nails that have a small hat or reduce it yourself with a side cutter, after the nail is half-length mounted into the box canvas. Thanks to this installation, if necessary, the installed nails can be dismantled and re-hammered at any time.
Also, liquid nails can be used to fasten the platbands. However, they will only work if both the door frame and the wall are free from defects and have a flat surface. With such material for fastening it is extremely convenient to work even when doing it yourself. To do this, apply glue to the back of the casing and carefully press it against the wall. In this position, it must be held pressed for two minutes. Do not apply a thick layer of glue, as when pressed, it can stain the surface of the wall and at the same time it is quite difficult to clean it off.

Compared to conventional nails, liquid nails are quite easy to use. Installation of platbands on the door is carried out very quickly and at the same time no traces remain on the front side. However, it should be noted that such nails, in comparison with conventional ones, provide a less durable fastening. Also, a significant disadvantage of liquid nails is that they are very difficult to dismantle if necessary. It is not recommended to use such a fastening element if the platbands are made of wood.
Another element for fastening the platbands are self-tapping screws, which must be at least three centimeters in length and about six centimeters in diameter. An important point: in order to prevent cracks from appearing on the canvas during the process of cashing the door with the help of self-tapping screws, you first need to make holes with a drill. The diameter of the holes should be slightly smaller than the diameter of the screws. To prevent the head of the self-tapping screw from remaining visible, you need to drill a recess from the outside.
You can also fix the platbands with a special fastener - the "beak". This method involves the installation of platbands, in specially made grooves in the deri box. Perhaps this installation of platbands is the most aesthetic. It is not recommended to cash out the door, in this way, if the trim is made of MDF material, as this can lead to the fact that they delaminate.

Platbands for interior doors can be installed using several options:
This type of installation is used quite rarely - only when installing telescopic trim, due to the fact that they have special protrusions, thanks to which they can be attached to the door frame or extension.
A decorative insert is an element that combines a decorative object and a casing at the same time. Installation is carried out end-to-end. The decorative insert must fit under, otherwise it will look superfluous. May be included with the door or purchased on request.
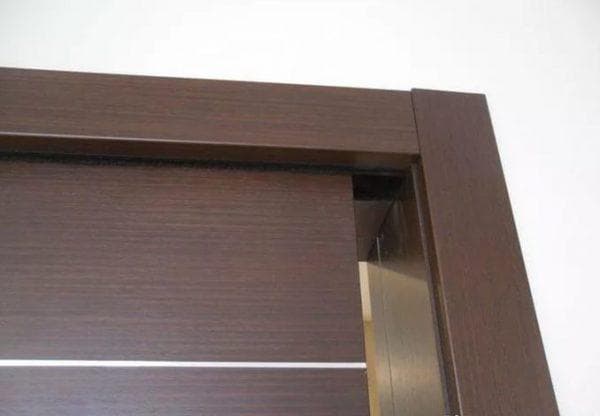
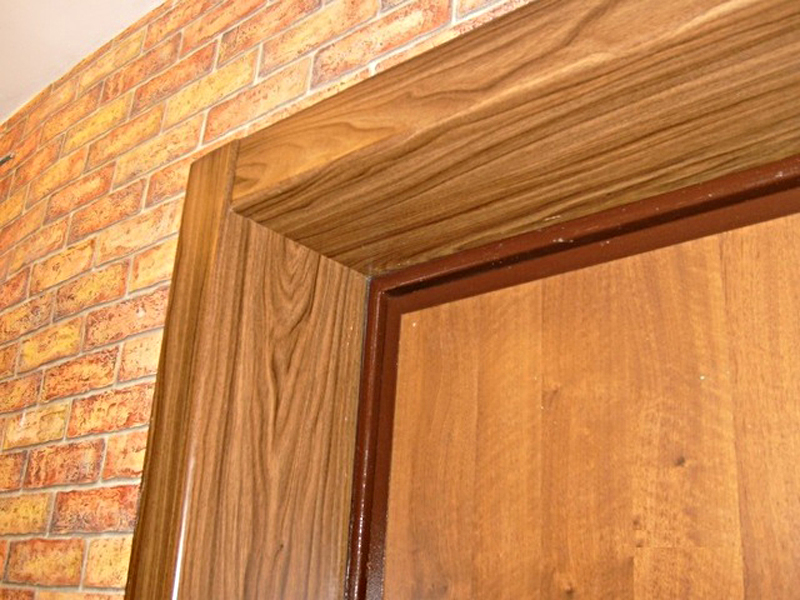
The most common mounting option is the installation of a platband, which is cut at an angle of four hundred and fifty degrees. With this mounting option, you can install a casing and any material you like, since for this you just need to make the right measurements. To do this, you need to attach the bar to the opening and make it the right size, removing the edges. It must be remembered that the height should not be the same as that of the inside of the door frame, so the size of the width of the casing must be added to its parameters. Next, the prepared bar must be installed on the surface and, using a square, select the desired angle and cut it.

The process of installing platbands is quite simple and understandable, so this stage of installing the deri can be done independently. To do this, attach the trim to the doorway and secure with nails. In this case, it is necessary to observe a distance of about 50 centimeters between them. There is also another way in which nails should be nailed directly to the box. From the outside, the nail should be visible about five centimeters long. Further, platbands are put on the convex part of the nail. Protruding nail heads should then be trimmed with wire cutters. An important point: in order to knock out the bar a little, you need to use a wooden block, pre-wrapped with a cloth. A normal hammer is not recommended.
After installing the platband, you need to attach the upper bar to it and measure its length, and then cut it off at the edges. The top bar should be fixed in the same way as the side bars. If gaps occur, they must be filled with sealant. Also, a wax corrector is suitable for this, which can be easily selected according to the desired color.

When doing repairs on your own and carrying out repairs in general, you have to deal with the question of how to attach trim to interior doors. To do this job correctly, you must follow the basic rules:

Installation of platbands is a fairly simple process, so its implementation will not take much time, but it will require accuracy and patience. In the event that the installation of platbands is carried out for the first time, it is best to try to make an independent installation on a wide opening. In this case, if the attempt fails, then the used strips can be reused on a small doorway. When installing platbands on interior doors, it is imperative to take into account all the recommendations and follow the implementation steps.