The foundation of the whole structure is the foundation, part of which is “hidden” in the ground, and part is located above the ground surface. The last element is called the base, and it is designed to provide additional protection for the structure from the negative effects of precipitation, as well as possible overheating or freezing of the soil.
In order for the base not to suffer from certain influences, it must be finished. There are a large number of materials that are suitable for cladding - these are stone, brick, wood and many others. But they all have certain laying parameters, so finishing the pile foundation with basement siding is gradually replacing them due to its simplicity.
This article, illustrated with a photo, provides detailed instructions on how to finish the basement of a house with siding, doing all the work with your own hands.
This material, which appeared on the domestic construction market relatively recently, has certain positive characteristics, which ensured its popularity. First of all, it is worth noting that the price is quite acceptable, and if we correlate it with the service life of the finish, then it is generally ideal!
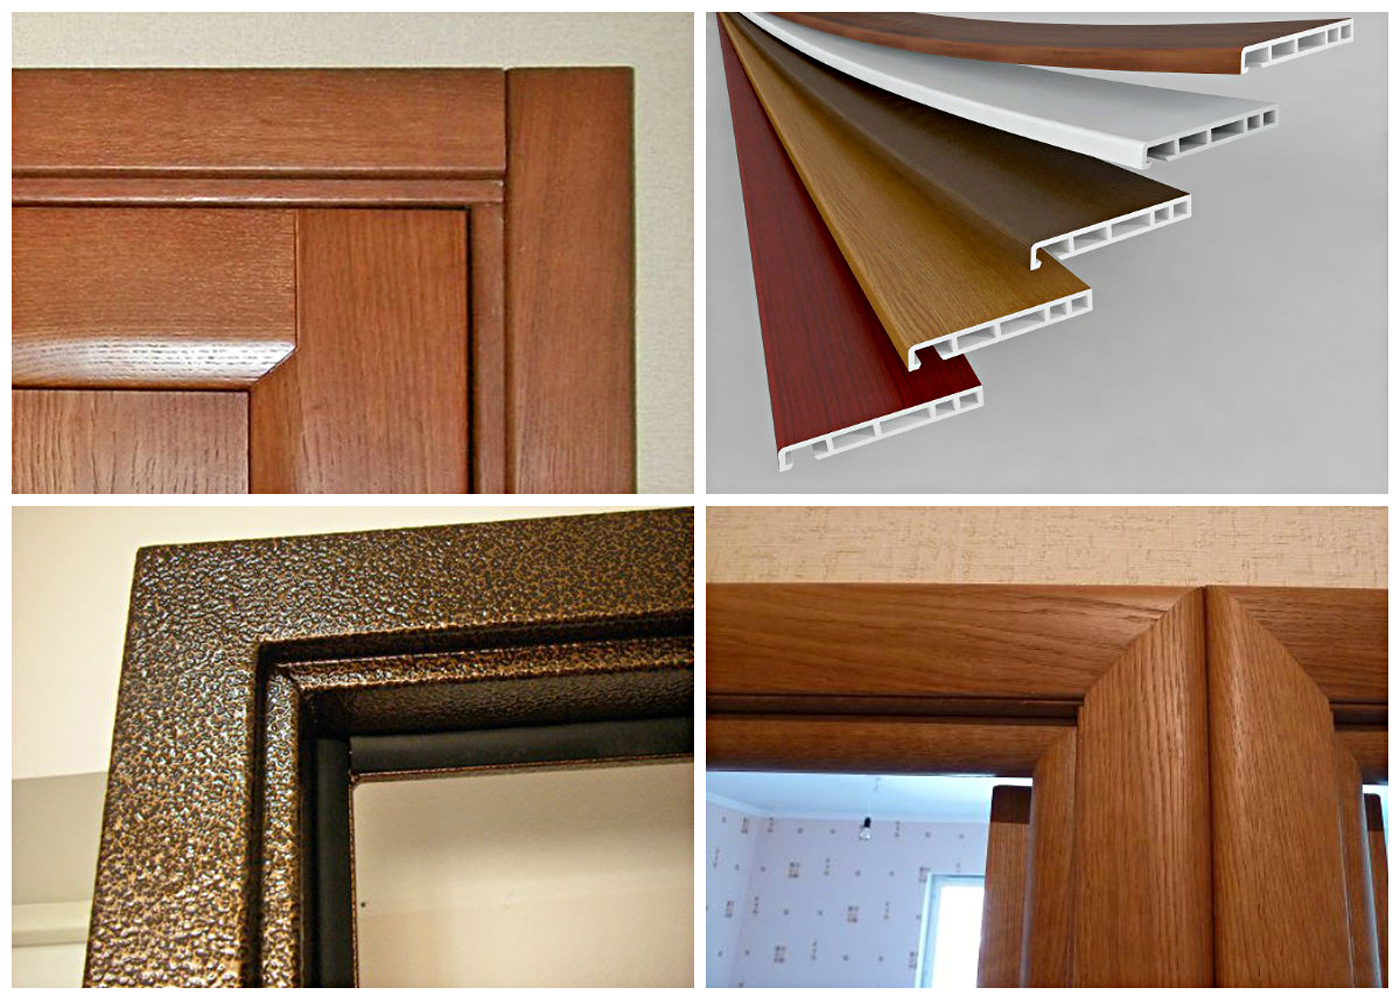
Various models imitate coating:
The dimensions are as follows:
It is also worth noting that the process of caring for this material itself is not complicated:

Other positive characteristics of this finishing material include:
Finishing the foundation with basement siding does not require special building skills. It is enough just to be able to own certain tools, as well as to do the job as accurately as possible.
Finishing the siding of the basement of the house is carried out with a certain tool, which will allow you to do everything quickly and with the highest quality.
In particular, you may need:
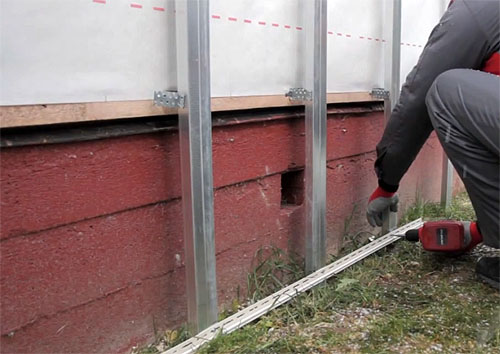
Advice. In order for the sheathing to go quickly and be of the highest quality, it is necessary to make a supporting frame from a UD profile.
The distance between the posts should correspond to the width of the siding panel - that is, be approximately 44 cm.
Finishing the house with basement siding starts from the bottom corner and goes from left to right. If there are any protruding elements, then in this case it is not necessary to perform horizontal plating.

Separately, it is worth highlighting the following features of the installation of this facing material:

It is also extremely important to buy the required amount of material. So that later you don’t have to urgently buy the missing part and not put the remaining panels in the back room.
Before buying, you need to make the following calculations:
Usually, as practice shows, one panel is enough to finish one wall in height. If the height is greater than the width of the panel, then in this case the data obtained must be multiplied by one and a half or two, depending on the true height of the base.
Now we will consider the cladding process in stages, which will give you the opportunity to thoroughly understand the very principle of the work. Above, we have already said that you need to start with the arrangement of the crate, on which the panels will be attached.
Advice. If you decide to use a wooden beam, then note that it must be made of a solid, always flat board.
It is also recommended to treat the timber with a special compound that will prevent possible rotting and damage by insects.
Planks are attached sequentially to each other. First you need to make the base of the vertical racks, and then fix the horizontal guides.

Finishing basement siding depends on which panels you use.
If you decide to mount a material whose width is 47 centimeters, then in this case the profile is mounted in three lines:
For fixing the profile, dowels and self-tapping screws from seven to ten centimeters in length are used.
The start of work involves the installation of the first launch panel to the profile at the base of the plinth. Fasteners are carried out strictly horizontally using self-tapping screws, which are screwed in at a distance of about thirty centimeters from each other.
In this case, the so-called additional structural elements are also used:

Advice. Please note that a corner finishing element is installed at the corner of the building, which, if necessary, is trimmed a little.
Fasteners are also carried out by means of self-tapping screws directly to the crate itself.
It is important to provide for the allowance of the supporting element on the corner element, which should be at least one centimeter. The last element of the structure is installed.

Step by step installation of finishing materials is as follows:
Following this step-by-step instruction, trim the entire plinth. If the top element does not completely fit in height, then it can be slightly trimmed. The top edge is covered with a finishing strip
We also provide some additional tips from professionals that will help you greatly simplify the installation process.
Tip: Be sure to consider the likely thermal expansion of the siding - about six millimeters. So be aware of the gap!
In the presented video in this article you will find additional information on this topic.