The installation of platbands on the door can be done in two fundamentally different ways - as professionals say, with trimming at 45 ° or at 90 °. Regardless of the installation method, this work is quite complex and requires utmost attention. In this article from the website, we will analyze both of these installation methods - we will study not only the sequence of work, but also all the subtleties, as well as the nuances inherent in them.
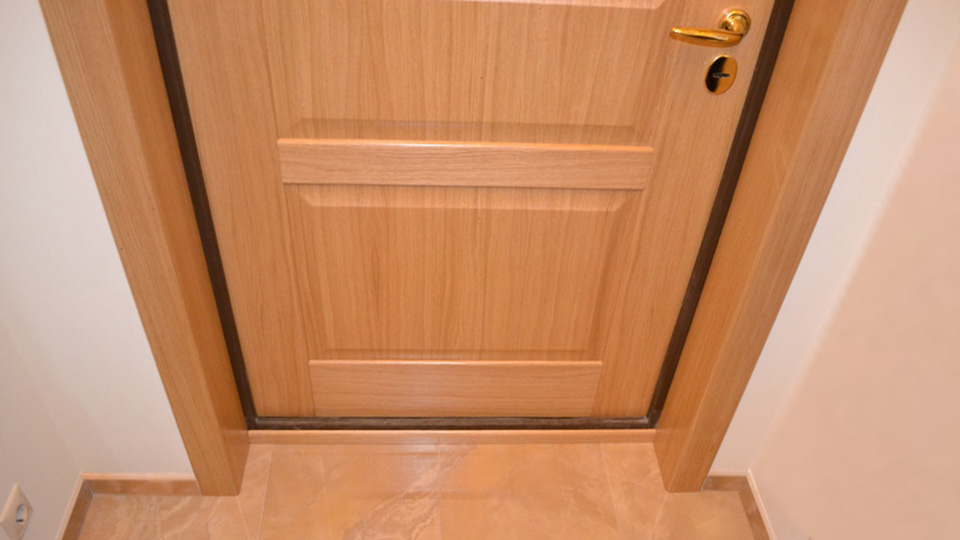
Installing a platband on an interior door
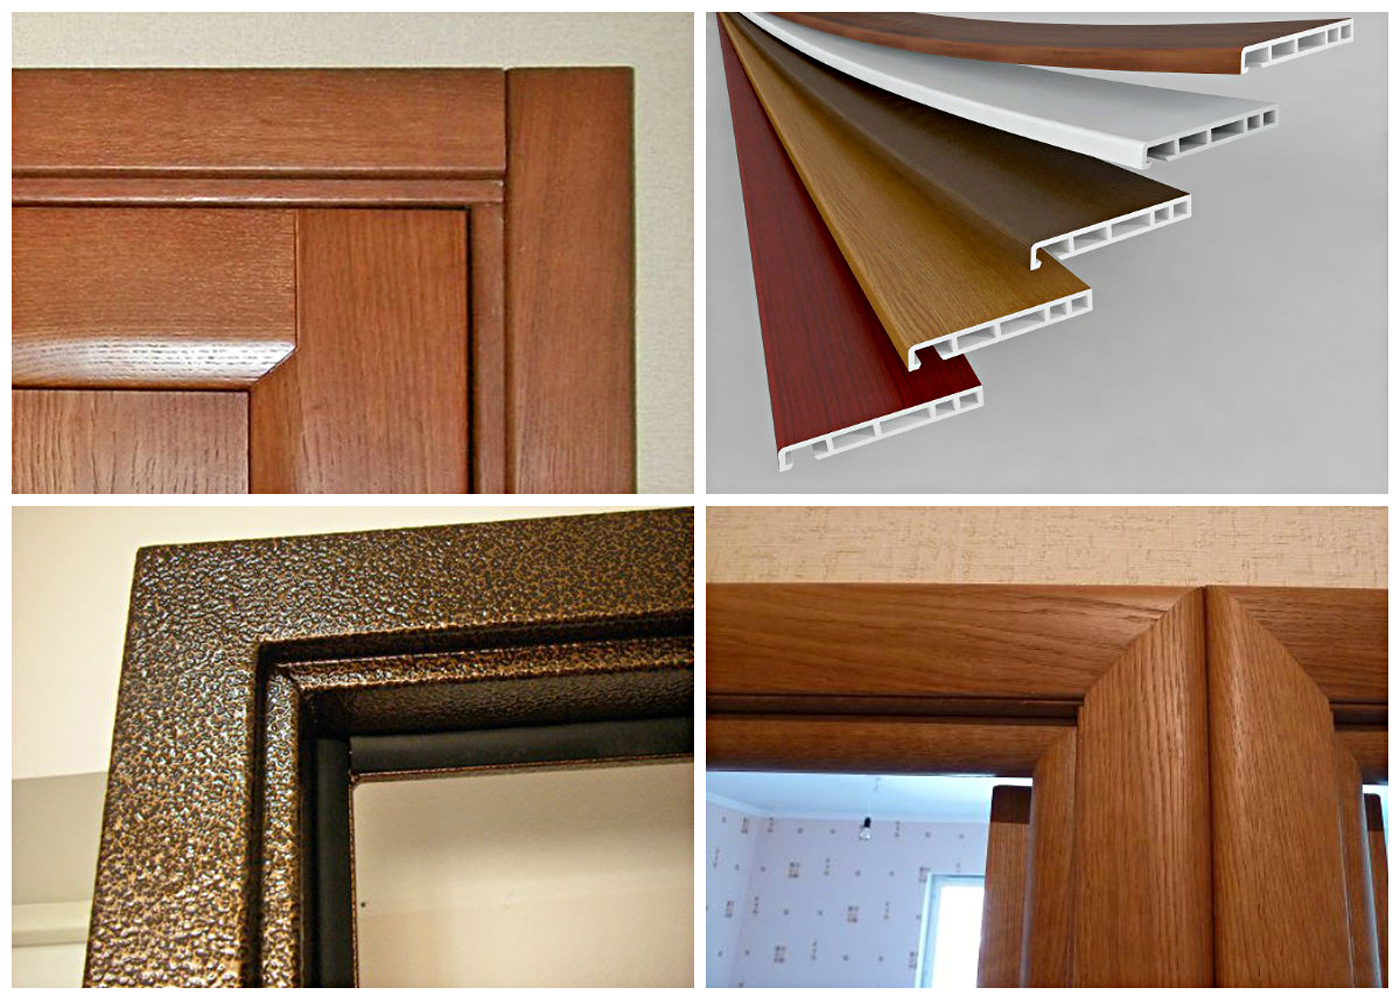
It is not difficult to guess that this method of installing door frames involves cutting the joints of individual parts of the set at 45 ° - this is the most common method that is equally suitable for frames with any configuration. For those who do not know, I will say that the profile of door trims can be different: their front surface can be a flat plane, curved in an arc and even carved, which is typical for products of this type carved from natural wood.
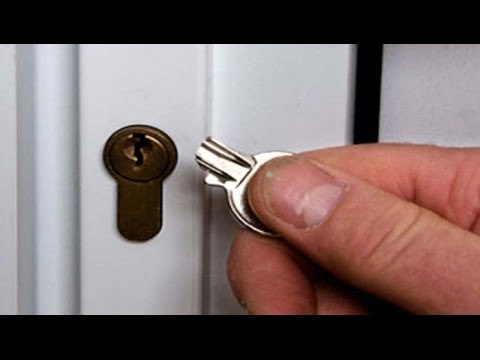
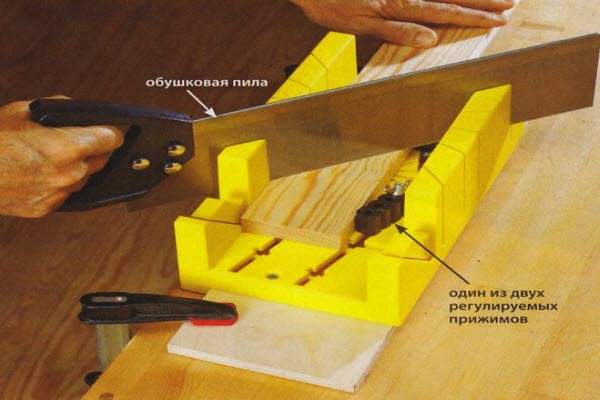
The whole complexity of such a platband installation lies precisely in trimming these corners. If your home arsenal has a miter saw, then this is not a problem - it makes a clear and even cut. But if this tool is missing, then it will be difficult, especially when it comes to trimming colored laminated or veneered products of this type. The fact is that even with an electric jigsaw, not to mention a manual hacksaw, it is quite difficult to make an even, accurate and clean cut without chipping the front cover. That is why one cannot do without special devices, there are two of them - this is a miter box and a rotary hand saw.
Installation of platbands on the door
There is a third way to install door trim with a trim at 45 ° - manual. Approaching this problem in this way, you will have to draw a line yourself and at the same time maintain the required angle, and then perform an accurate and accurate cut using an electric jigsaw or a manual hacksaw for metal. In any case, this undertaking will work only if your hands have sufficient skill. By the way, professionals have one trick that allows you to minimize the number of chips on the decorative surface in the process of cutting the material - adhesive tape is glued along the cut line, which plays the role of a kind of protection against chips.
You can see how the platbands are trimmed at 45 ° without all kinds of devices in the video below.
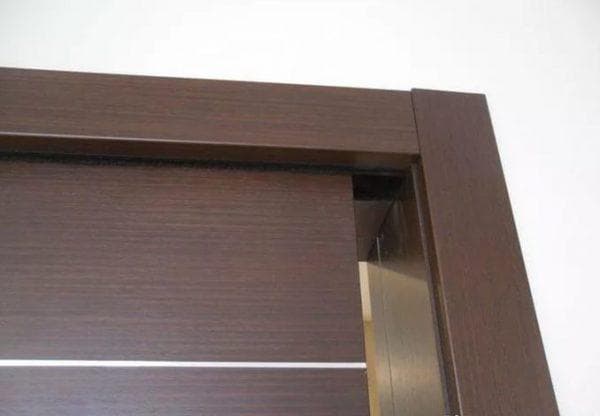
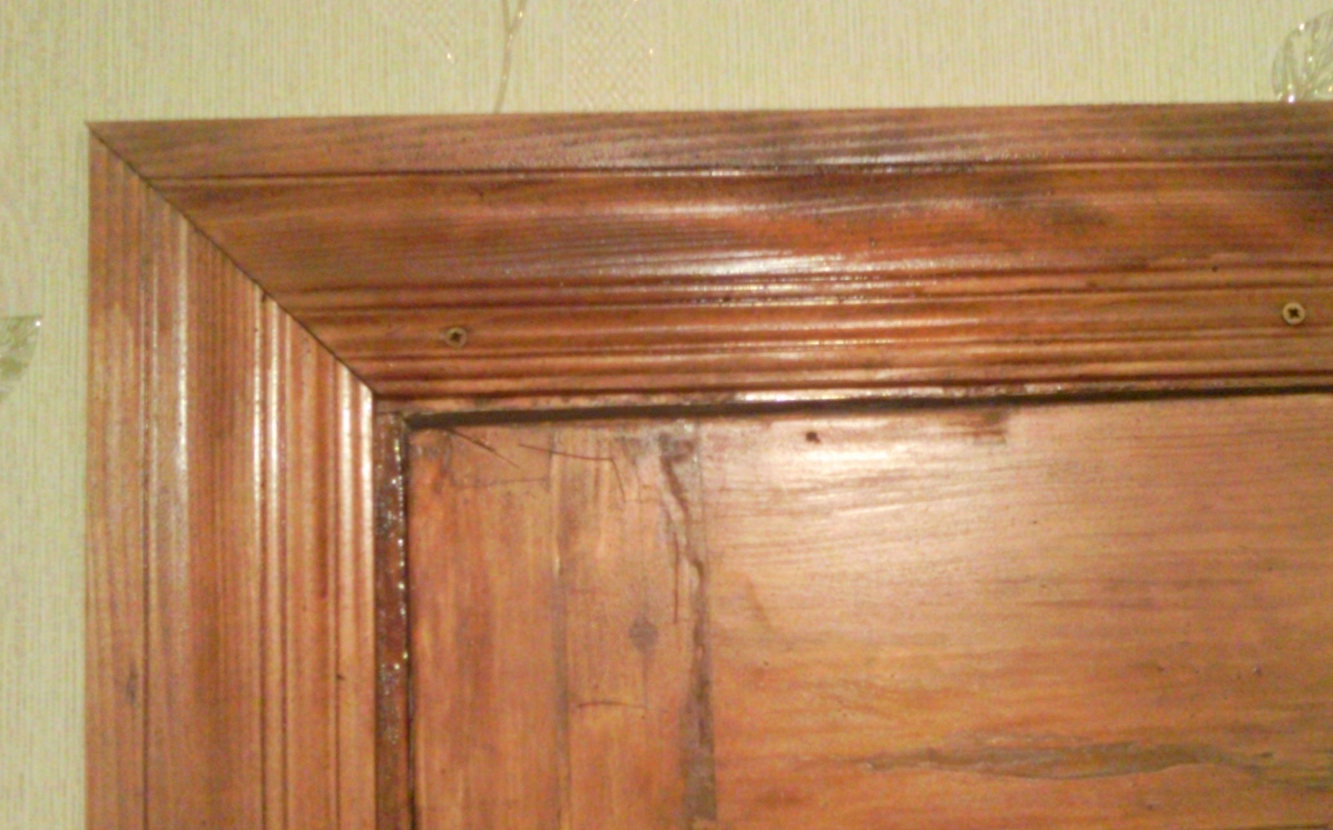
This method of solving the question of how to install platbands on is not suitable for all types of this product. If we are talking about moldings with a clear rectangular section or with slightly rounded edges, then you can’t imagine anything better than it. This installation method consists in the fact that the planks are connected at an angle of 90 ° relative to each other. In this case, the upper casing is, as it were, embedded between the two side ones. It is this moment that facilitates trimming and fitting joints.
But not everything is so simple here - without accurate measurements and even, clean, without chips, cuts are also indispensable here. Only platbands that have an even rectangular configuration, without any rounded edges, fit perfectly - in this case, you only have to clearly calculate the height of the side platbands and the length of the top rail up to millimeters.

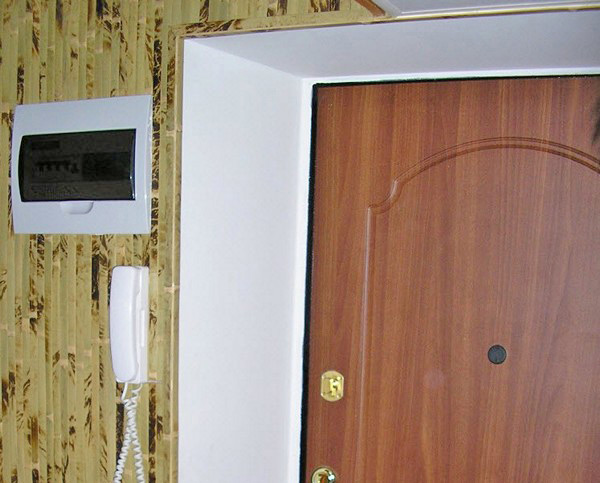
How to install platbands on doors
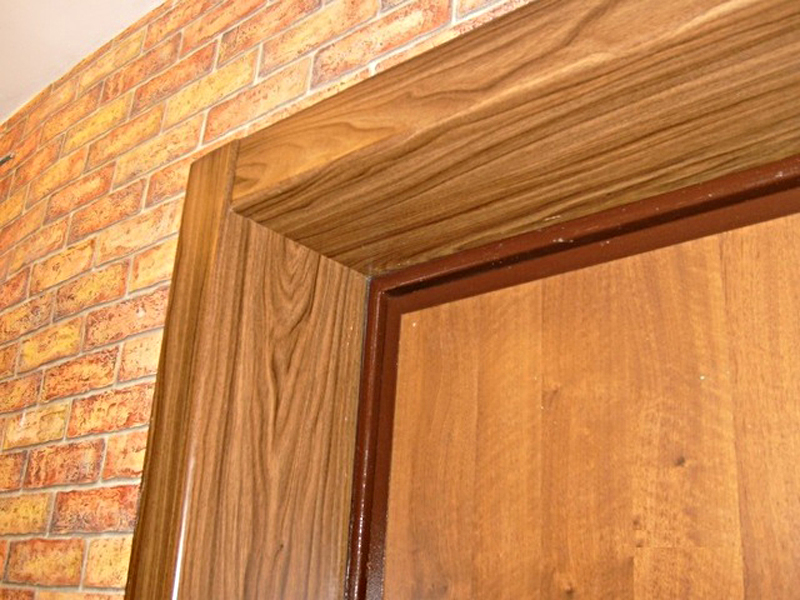
Things are a little more complicated with platbands, which have rounded edges - in this case, a regular straight cut is indispensable. Thanks to the rounding, with a straight cut, the ends of the upper casing are visible. There is only one way to hide them - to perform an oblique cut. The slope should be directed from the front side of the rail to the wrong side - in general, the docking remains at 90 °.
If we are talking about the installation of do-it-yourself platbands, which have a completely rounded or carved configuration, then this installation method is not suitable - this type of product must be installed with a trim at 45 °.
So, we have decided on the methods of trimming the corners of the platbands, now it remains to deal directly with the installation process itself from "A" to "Z". We will present it in the form of a small instruction.

Do-it-yourself installation of platbands

For novice craftsmen, who probably won’t be able to accurately calculate the dimensions of the upper casing on the first try, I’ll tell you a way to get rid of the gaps. If you have unsightly gaps at the docking points, then there is only one way to hide them. This gap must be distributed on both sides of the door block, and then covered with a wax paste designed to eliminate chips on furniture. It is sold in all markets and may have a different color. Well, in the rest, the installation of platbands on the door should not cause any problems, the most important thing here is accuracy and accuracy.