Installing an entrance or interior type door is a necessary work for every person. It is carried out independently or trusted by experienced professionals. After the door is mounted in its place, it becomes necessary to decorate the door jambs beautifully. This will achieve an attractive design in the room and will have a positive effect on the door itself.
Traditional door frame finishes
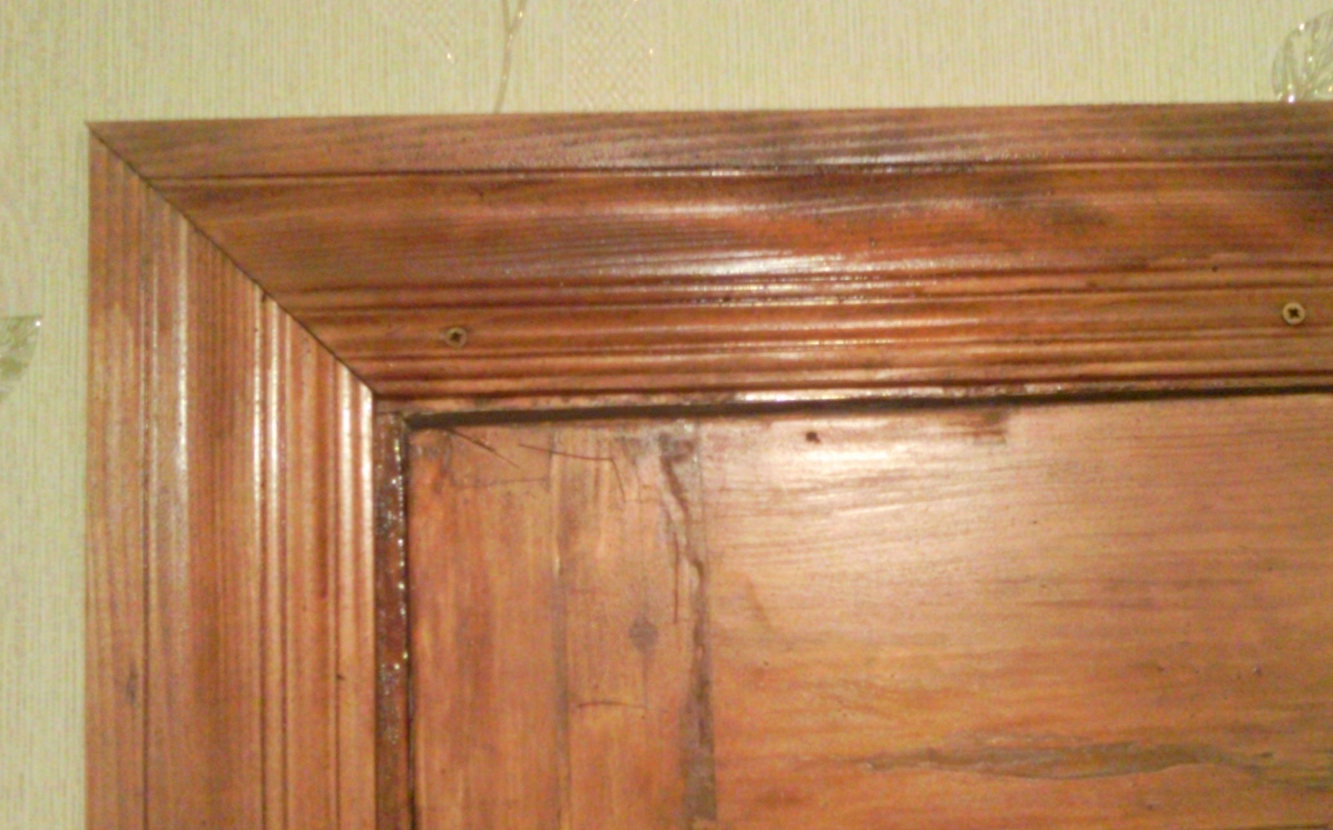
Attention! If you have old plaster falling or jambs and slopes look unattractive, promptly take on their restoration. In general, this is not difficult. It remains only to decide on the preferred method of performing restoration work.
Drywall can be used as the main finishing material. This is a sought-after material that will allow you to easily and quickly carry out work on finishing jambs. The advantage of drywall is the low cost of the material. Also among other advantages are:
The algorithm of work is simple. It is divided into three stages. The first step is preparing the surface for finishing. It is impossible to start it immediately after finishing the installation of the door. Initially, let the mounting foam dry and cut off its remnants. Remove the remains of any materials from the jamb, including old plaster or insulation. Prime the surface thoroughly using a deep penetration primer.
 Custom door frame finishes
 The next step is the preparation of drywall for work. To decorate the jamb, three pieces of drywall are used - one top and two side. The side sections must fully correspond to the height of the slope, excluding the thickness of the drywall itself. The width of the piece of material should correspond to the width of the jamb. Make sure that the top corner of the side cut is under the top cut. This will beautifully block the corner of the door frame.
The final step is gluing drywall sheets. For this, a special solution is used. It can be purchased at any hardware store in the form of a dry mix, which is diluted with water on its own.
Attention! AT It is important to remember that drywall adhesive dries quickly. Therefore, it is recommended to act promptly in order to exclude a negative result. You should also properly dilute the solution so that it resembles thick sour cream. If you make the consistency liquid, you will have to hold drywall for a long time so that it “grabs”. Too thick material dries quickly and the work is unlikely to be completed.
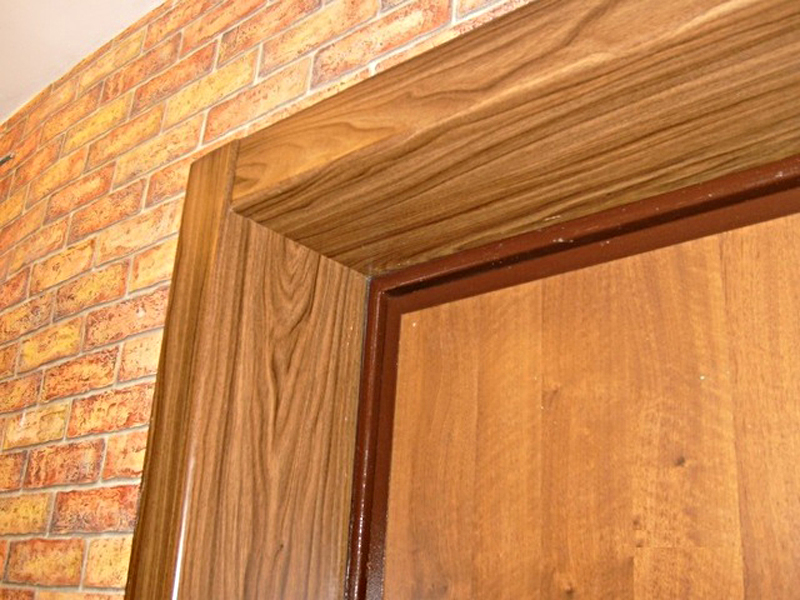
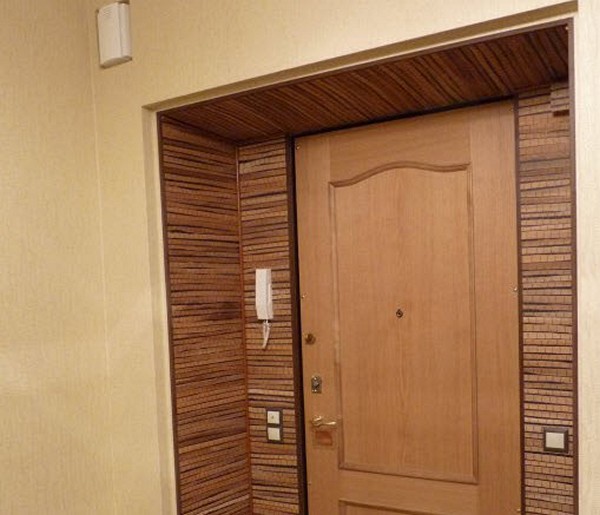
 The use of wood for decoration
 The principle of operation is that the adhesive is applied to the desired section of the wall using a spatula. Next, a piece of material is laid evenly and neatly. You can adjust its position until the glue hardens. The adjustment itself is made by tapping on the installed jamb. It is important to act carefully so as not to leave dents on the material. Initially, the side panels are mounted, and finally, the top one.
If the drywall was initially fastened neatly and the result suits you, you can eliminate the need for this work. Putty is applied with a thin finishing layer. Before applying the putty, drywall is primed and allowed to dry. When applying putty, a wide spatula is used, and irregularities are rubbed with a trowel with a mesh. As a result, there are no small potholes.
 Decorating the door frame
 Next, perform the sealing of the ends. This is necessary to align the corners with the wall. Ordinary putty is used. If necessary, use a perforated corner to achieve an even angle. Finally, the surface is primed and painted. As a dye, water-based paint is taken, which is covered with drywall using a roller with a long pile. To make the result impressive, apply several layers of paint.
Remember, if there are gaps between the panels and the door frame, get rid of them. To do this, use acrylic sealant.
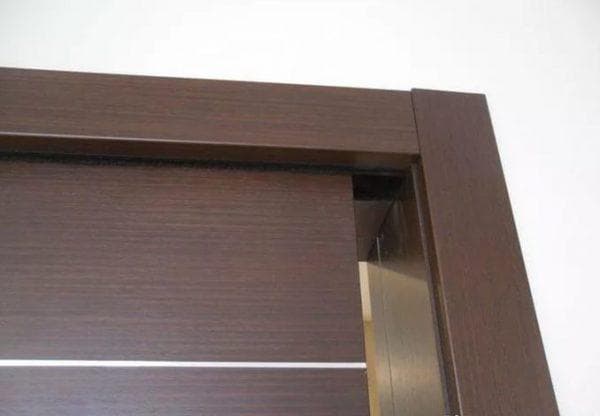
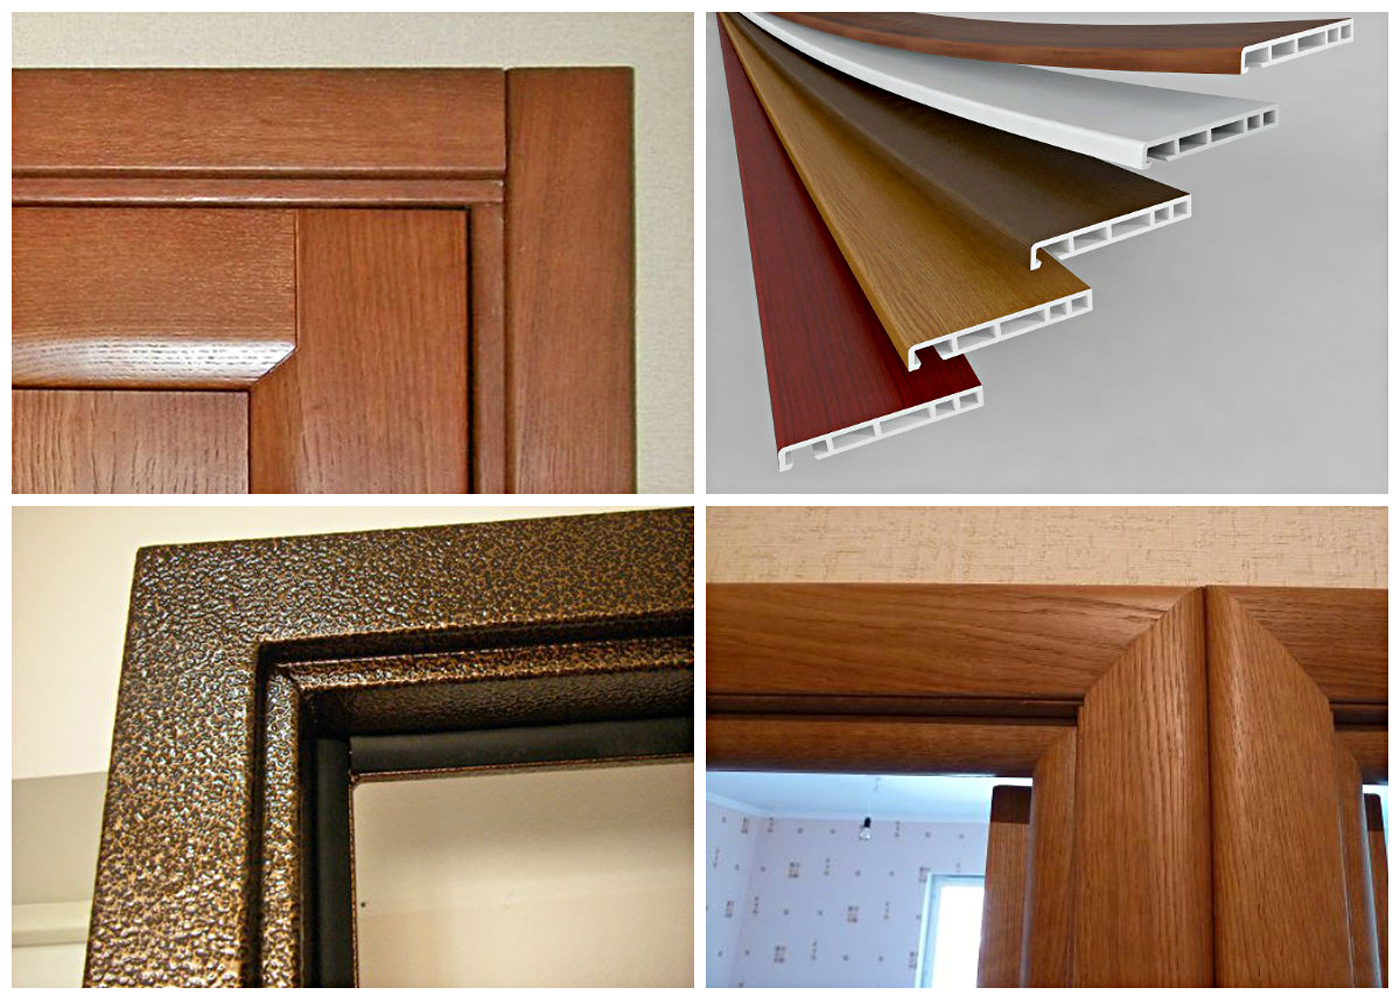
Often there is a problem of the presence of irregularities on the slopes. This negatively affects the overall appearance of the door and its surroundings. You can correct the situation with the help of equalizers. - these are strips of excellent thickness, made from varieties of wood material. They are designed to equalize the unevenness of the doorway and the wall. According to the structure, the extensions are divided into several types:
The following materials are used in the manufacture of planks:
Dobory differ in durability, high resistance to wears and simplicity of installation. To give them a certain shade, varnishes and paints of bright or dark colors are used.
Installation of trims for entrance doors is carried out by craftsmen and beginners in the construction business. For installation, it is required to have primary knowledge about the repair. Installation of leveling strips on a metal sheet is independently carried out using the following tools:
After preparing the tools, we proceed to the installation of the dobor. The sequence of actions depends on the selected type. There are several ways to install the slats - depending on the presence of grooves in the extension. If there are connectors on the sides, installation is carried out as follows.
 Effective leveling of door slopes with materials
 Preparation of the dobor for work - measurements are taken with a metal ruler from the edge of the wall to the junction with the door leaf. The board is cut into the necessary extensions with a hacksaw for wood. Measure the board for an even cut into planks. By installing the slats in the grooves, the design is built in the form of the letter "P". Hanging on the opening is carried out.
The main stage of installation is the fastening of the structure from the slats. You can trim it with cardboard. It is installed under the slats. Study the ratio of cardboard and walls. The building level is used for this. The voids are filled with sealant. The work is carried out lightly, since the addition is light in weight and does not need hard reinforcement.
In the absence of grooves on the sides of the strip, individual parts are taken into account. The principle of action is reduced to the following algorithm:
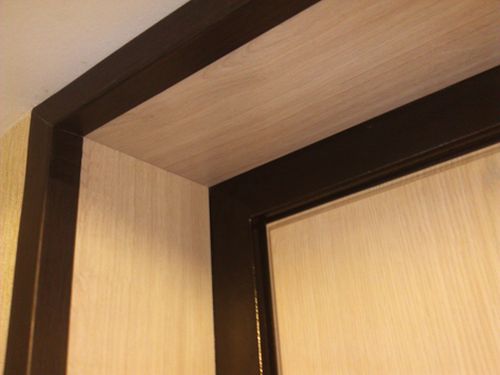 Decor door slopes
 At the end of the actions with the addition, it remains to cover the planks with paint and varnish. This is done as needed. In general, when installing extensions by a non-professional, the work takes about 3 hours. With professionalism - from 30 minutes to an hour. Finishing with decorative stone, which is applied to the door jambs, is also in demand. It is not suitable for any interior.